I love sewing 18" doll clothes. It seemed a natural progression to start designing them too. You can read all about my life journey on valspiers.substack.com
Doll Clothes Pattern Hack: Cute summer top from a dress bodice
You don't need to be a designer to make designs like this ruffle top.
With some help from me and a good fitting dress pattern you can draw up your own pattern pieces for this cute button down ruffle blouse.
You can use the bodice pattern pieces for a plain dress that opens in the back and make a pattern for this blouse without buying any more patterns.
I have created a you tube video showing you step by step how to draft the blouse pattern from a dress bodice. I love to share my expertise as a designer.
You can see the video on You Tube or below. When you visit I would appreciate you subscribing to my channel. My hope is to keep making how to draft videos and eventually make an income from the ads. I need 1000 subscribers to even sign up for that so every follower gets me a bit closer.
Buy the pattern pieces instead
Not everyone has the inclination to draft their own patterns so I take it a step further and draw up the new pattern pieces to include in my shop. You can find this ruffle blouse as part of this cute outfit.
The shorts are from 1813 and I include the complete 1813 pattern. The bow headband is from the Free pattern folder in Dropbox and the blouse is the brand new ruffle blouse design. Get instant access to the Patterns and Tutorials folder in Dropbox with the link in the sidebar.
I include a combo file with just what you need to make this cute outfit, along with an outfit divider page and an outfit envelope.
Before rushing out to buy the blouse pattern you should have a go at drafting the pattern pieces yourself from the video. All you need is a round neck dress bodice. If you have my 1804 The 18" Dress you have all you need.
The step by step photo tutorial below shows you exactly how to sew it together.
Bodice
You will need to cut out main bodice pieces and lining bodice pieces.
With right sides together join the main shoulder seams and the lining shoulder seams.
Press the shoulder seams open.
With right sides together match the main bodice to the lining and pin it around the edges so it won't move as you sew the armholes.
You will be stitching around the armhole edges only.
Trim the seam allowances and snip the curved sections.
Turn the bodice right sides out. Finger press the armhole seams.
Carefully press the bodice along the armhole edges,
making sure all the bodice and lining edges match up.
Stay stitch close to the neck edge and the front edges to hold the bodice and lining together.
Edge stitch the armholes.
Start and finish 1/4" from the side edges so the edge stitching doesn't
interfere with stitching the side seams.
Bring the main bodice and lining together at the side edges,
matching main to main and lining to lining.
Stitch the seam.
Press the seam open then bring the seams together and press.
Stitch both side seams.
Bottom Ruffle
Stitch the centre back seam of the waist ruffle.
Trim it with pinking shears and press it open.
Ruffle Hem
Press up 1/4" along the hem edge.
I used Steam-a-Seam to secure the second fold of my 1/4" double fold hem.
You can also just turn the second fold and stitch the hem.
Ruffle pleat
Fold the ruffle in half and stitch 3/8" from the folded edge.
Press the pleat towards the hem edge.
Stitch 2 rows of gathering stitch along the raw edge.
One on the seam line and one inside the seam line 1/8" from the first row.
Leave long thread tails at both ends.
Put a pin in the bodice to mark the centre back in the waist edge.
Gather from each end of the ruffle towards the centre back until each half matches half the bodice.
With right sides together pin the ruffle to the bodice, matching the centre backs.
Hold the ruffle to the bodice to work out the exact length for matching.
Tie the gathering threads with 4 knots. Even out the gathers on that half of the bodice.
Do both sides.
Stitch the ruffle to the waist of the bodice.
Pin the seam allowance close to the edge.
Press the seam up towards the bodice.
Top stitch 1/8" from the seam to secure the seam allowance in place.
NOTE: You can sew the ruffle to the lining first then stitch the main bodice on top to enclose the seam allowance. See the 1804 18" Dress instructions for this method.
Neck Ruffle
I turned up my double fold hem using steam-a-seam.
Mark the centre back of the neck ruffle with a pin.
Place it out of the way of the gathering threads.
Sew the first gathering thread 1/2" from the raw edge.
Leave long thread tails at both ends.
Sew the second gathering thread 1/4" from the raw edge.
Pull up the threads from one end to the middle.
Pull up the threads form the other end to the middle.
Sew Neck Ruffle to Bodice
Mark the centre back of the bodice with pin.
Pin the right side of the ruffle to the wrong side of the bodice
at the centre back.
Pin the end of the ruffle level with the front.
Adjust the gathering threads.
Tie off the threads with 4 knots.
Even out the gathers and add more pins.
Repeat on the other side.
Stitch the ruffle to the neck, sewing over the gathering thread
along the 1/4" seam line.
Trim the neck seam to 1/8".
Baste the end of the ruffle to the front on each side.
Press the ruffle away from the neck.
Pin it over to the right side along the seam line.
Stitch it down, sewing over the top of the 1/2" gathering thread.
I didn't do a good job of it so I had to pick out the gathering
thread just in the front.
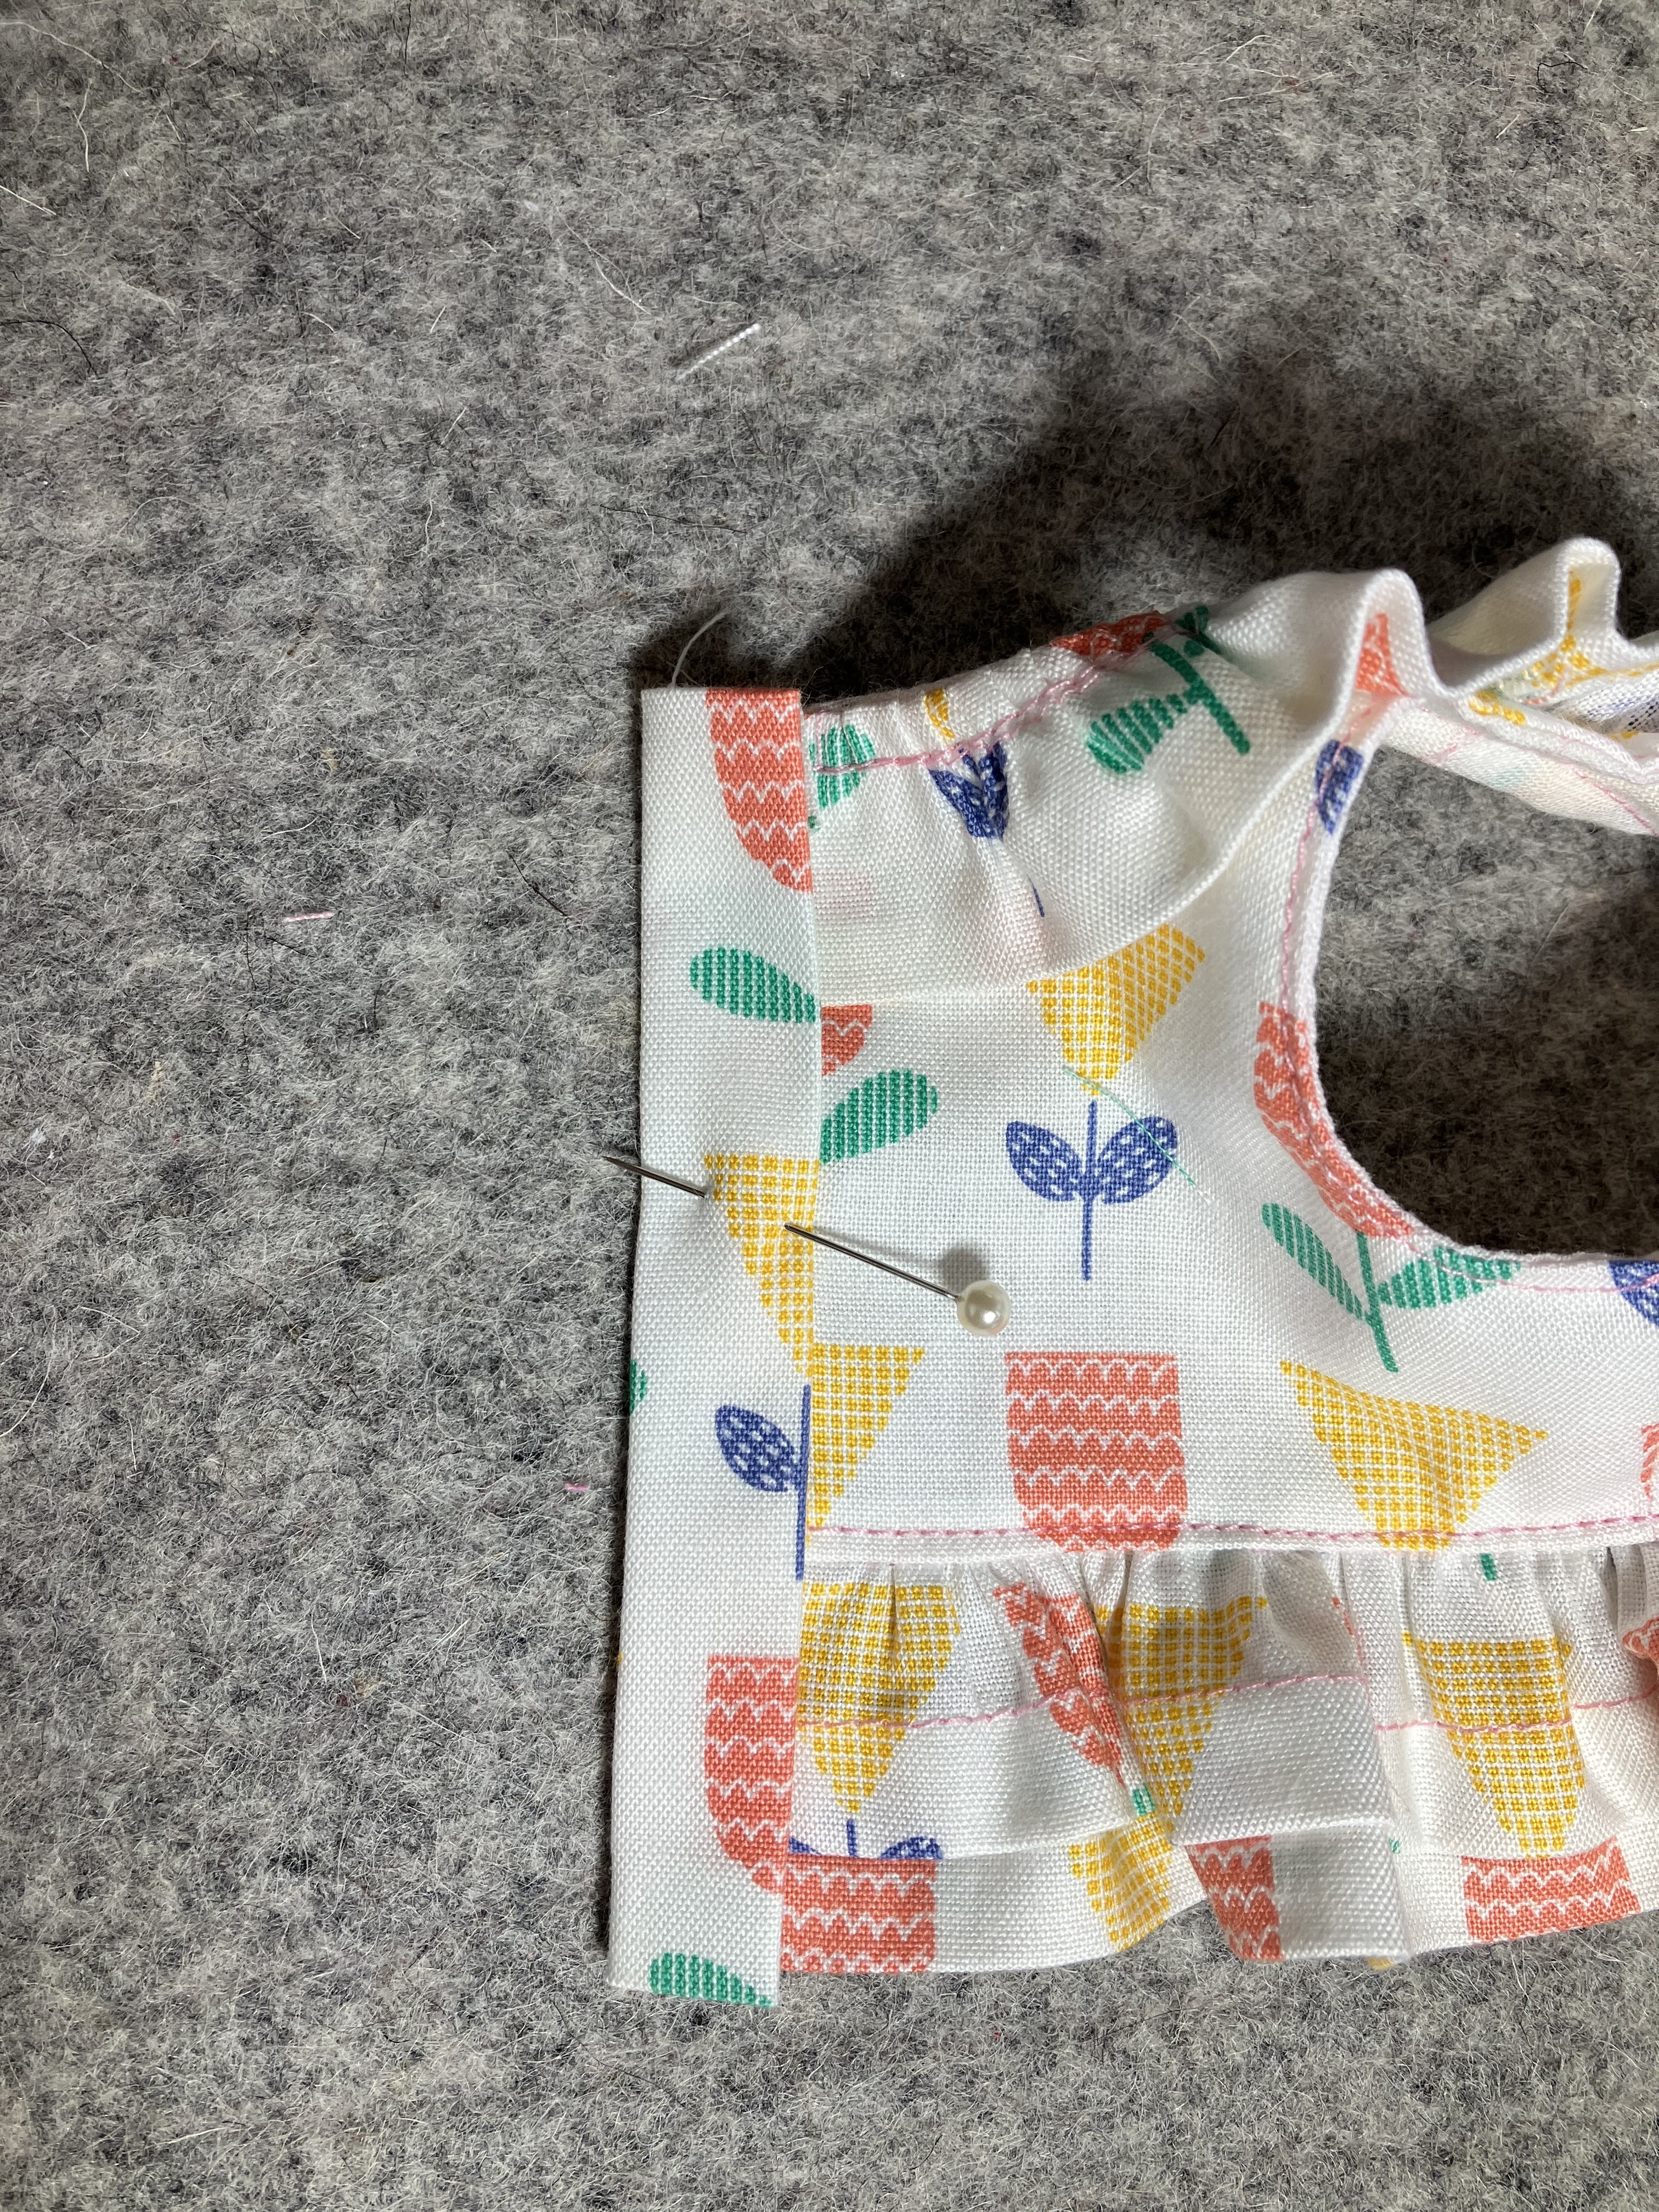
Front Band
Slip the front band under the front right side up.
Centre it between the top and bottom and pin it in place.
Stitch. Be careful the ruffle edge lines up with the front.
Fold it towards the seam and press.
Fold in the top and bottom edges and press.
Turn in 1/2" and press.
Turn it in again so it just covers the stitching line.
Stitch all around the band. Start on one of the open edges.
Stitch all around.
Do both bands the same.
Velcro
I like to use velcro patches rather than one long strip. However you do it, it is time to sew on the velcro.
Buttons
Lay out 5 small buttons (These are 1/4" buttons)
Carefully place a strip of sticky tape over the buttons to hold them down.
Use a button foot or a satin stitch foot and zig zag the buttons in place.


No comments:
Post a Comment
Note: Only a member of this blog may post a comment.