I love sewing 18" doll clothes. It seemed a natural progression to start designing them too. You can read all about my life journey on valspiers.substack.com
This blog post is all about how to sew the paper bag shorts design. If you have a basic pattern for pull-on pants or the 1813 Gathered Pull-ons from my Etsy shop then you can follow the steps in my You Tube video on how to hack your basic pattern to create the paper bag shorts pattern.
Show and Tell
I love looking through Pinterest for different fashion ideas for basic designs.
I saw these shorts and loved the little bit above the elastic casing. It's pretty and fashionable and easy to do. I haven't copied them exactly but you could if you wanted to. Perhaps use 1/2" elastic and make adjustments to your pattern hack.
Rather than tie the bow each time you can make a bow and stitch it in place.
Part 1: The Pattern
Create you new pattern pieces using the video instructions or you can just buy this hacked piece from my shop this time. Future hacks will be on you tube only.
Part 2: Fabric and cutting out
Use quilting cotton or lawn or linen for a neat, crisp look.
Cut out your fabric pieces. Keep track of the backs by marking them with pins.
Mark where the casing fold line goes with a pencil mark on each side of the two fabric pieces.
Mark it on the right side just inside the seam allowance so it won't show after sewing.
Part 3: Casing
Press over the waist edge along the casing fold line on each fabric piece. Finish the top edge by turning it under 1/4" or by overlocking it.
Pin the centre front edges together and stitch.
You can take out the marker pins in the backs. Pink the front seam allowance.
Press the seam to the left.
Fold over the casing and pin it in place.
Stitch close to the open edge.
You need 3/8" for the casing width. I measured the 3/8" and had 1/2" left for the top ruffle edge. I stitched the second casing line 1/2" from the fold. I suggest measuring to make sure your casing will be 3/8" wide because your distance from the fold might vary slightly depending on your accuracy when folding and your fabric.
Part 4: Leg Hems
Do the 1/4" hems along each leg edge.
I decided to do a narrow double fold hem.
Make the first fold as narrow as you can (about 1/8").
Press the second fold using the edge of the first fold as a guide. Hem accuracy is not crucial.
Stitch close to the open edge so you make sure you secure the first fold as well.
Part 5: Elastic
Because my centre front seam is pressed to the left I will be threading my elastic from right to left with the wrong side up. (I hate trying to thread elastic over seams that face the wrong way.)
Measure 10 1/2" of 1/4" elastic.
Use a safety pin to thread your elastic.
When the end of the elastic is level with the right hand side stitch across it, forwards, backwards, forwards. I don't bother to do a double stitch at the beginning or end.
Keep threading. When the end of the elastic is level with the left hand side pin it in place about 2" from the end. Remove the safety pin and stitch this end the same as the first. Remove the pin.
Part 6: Belt loops
Cut a rectangle of fabric 2" x 4 1/2". This should give you just enough for 4 loops.
Fold the belt loop strip wrong sides together and stitch.
Pink the seam allowance.
Manipulate the belt loop strip so the seam sits down the centre. Press the seam open.
Rather than separate the loops I did each one and cut off the remainder of the strip.
Place pin markers 3/4" from the centre front seam.
Make a small mark 1/4" from one end of the belt loop strip, on the wrong side.
Lay the belt loop strip right side down so the length of the strip extends up past the waist and the small mark sits just above the upper stitching line of the casing.
Line up the side edge with the pin marker and pin the strip in place.
Stitch the belt loop on, just above the casing stitching line.
Trim off a fraction of the belt loop seam allowance with pinking shears.
Fold the loop strip down. Measure 3/4" along the strip and mark with a pin.
Trim off the excess belt loop strip with pinking shears, just so the cut skims below the pin.
Turn under the end and adjust it so the fold sits a fraction below the lower stitching line of the casing.
Stitch it in place just below the lower stitching line of the casing.
You need to stitch the loop just above and below the casing stitching lines so you can fit the 3/8" belt ribbon through the loops.
Use the same method to attach the other front loop.
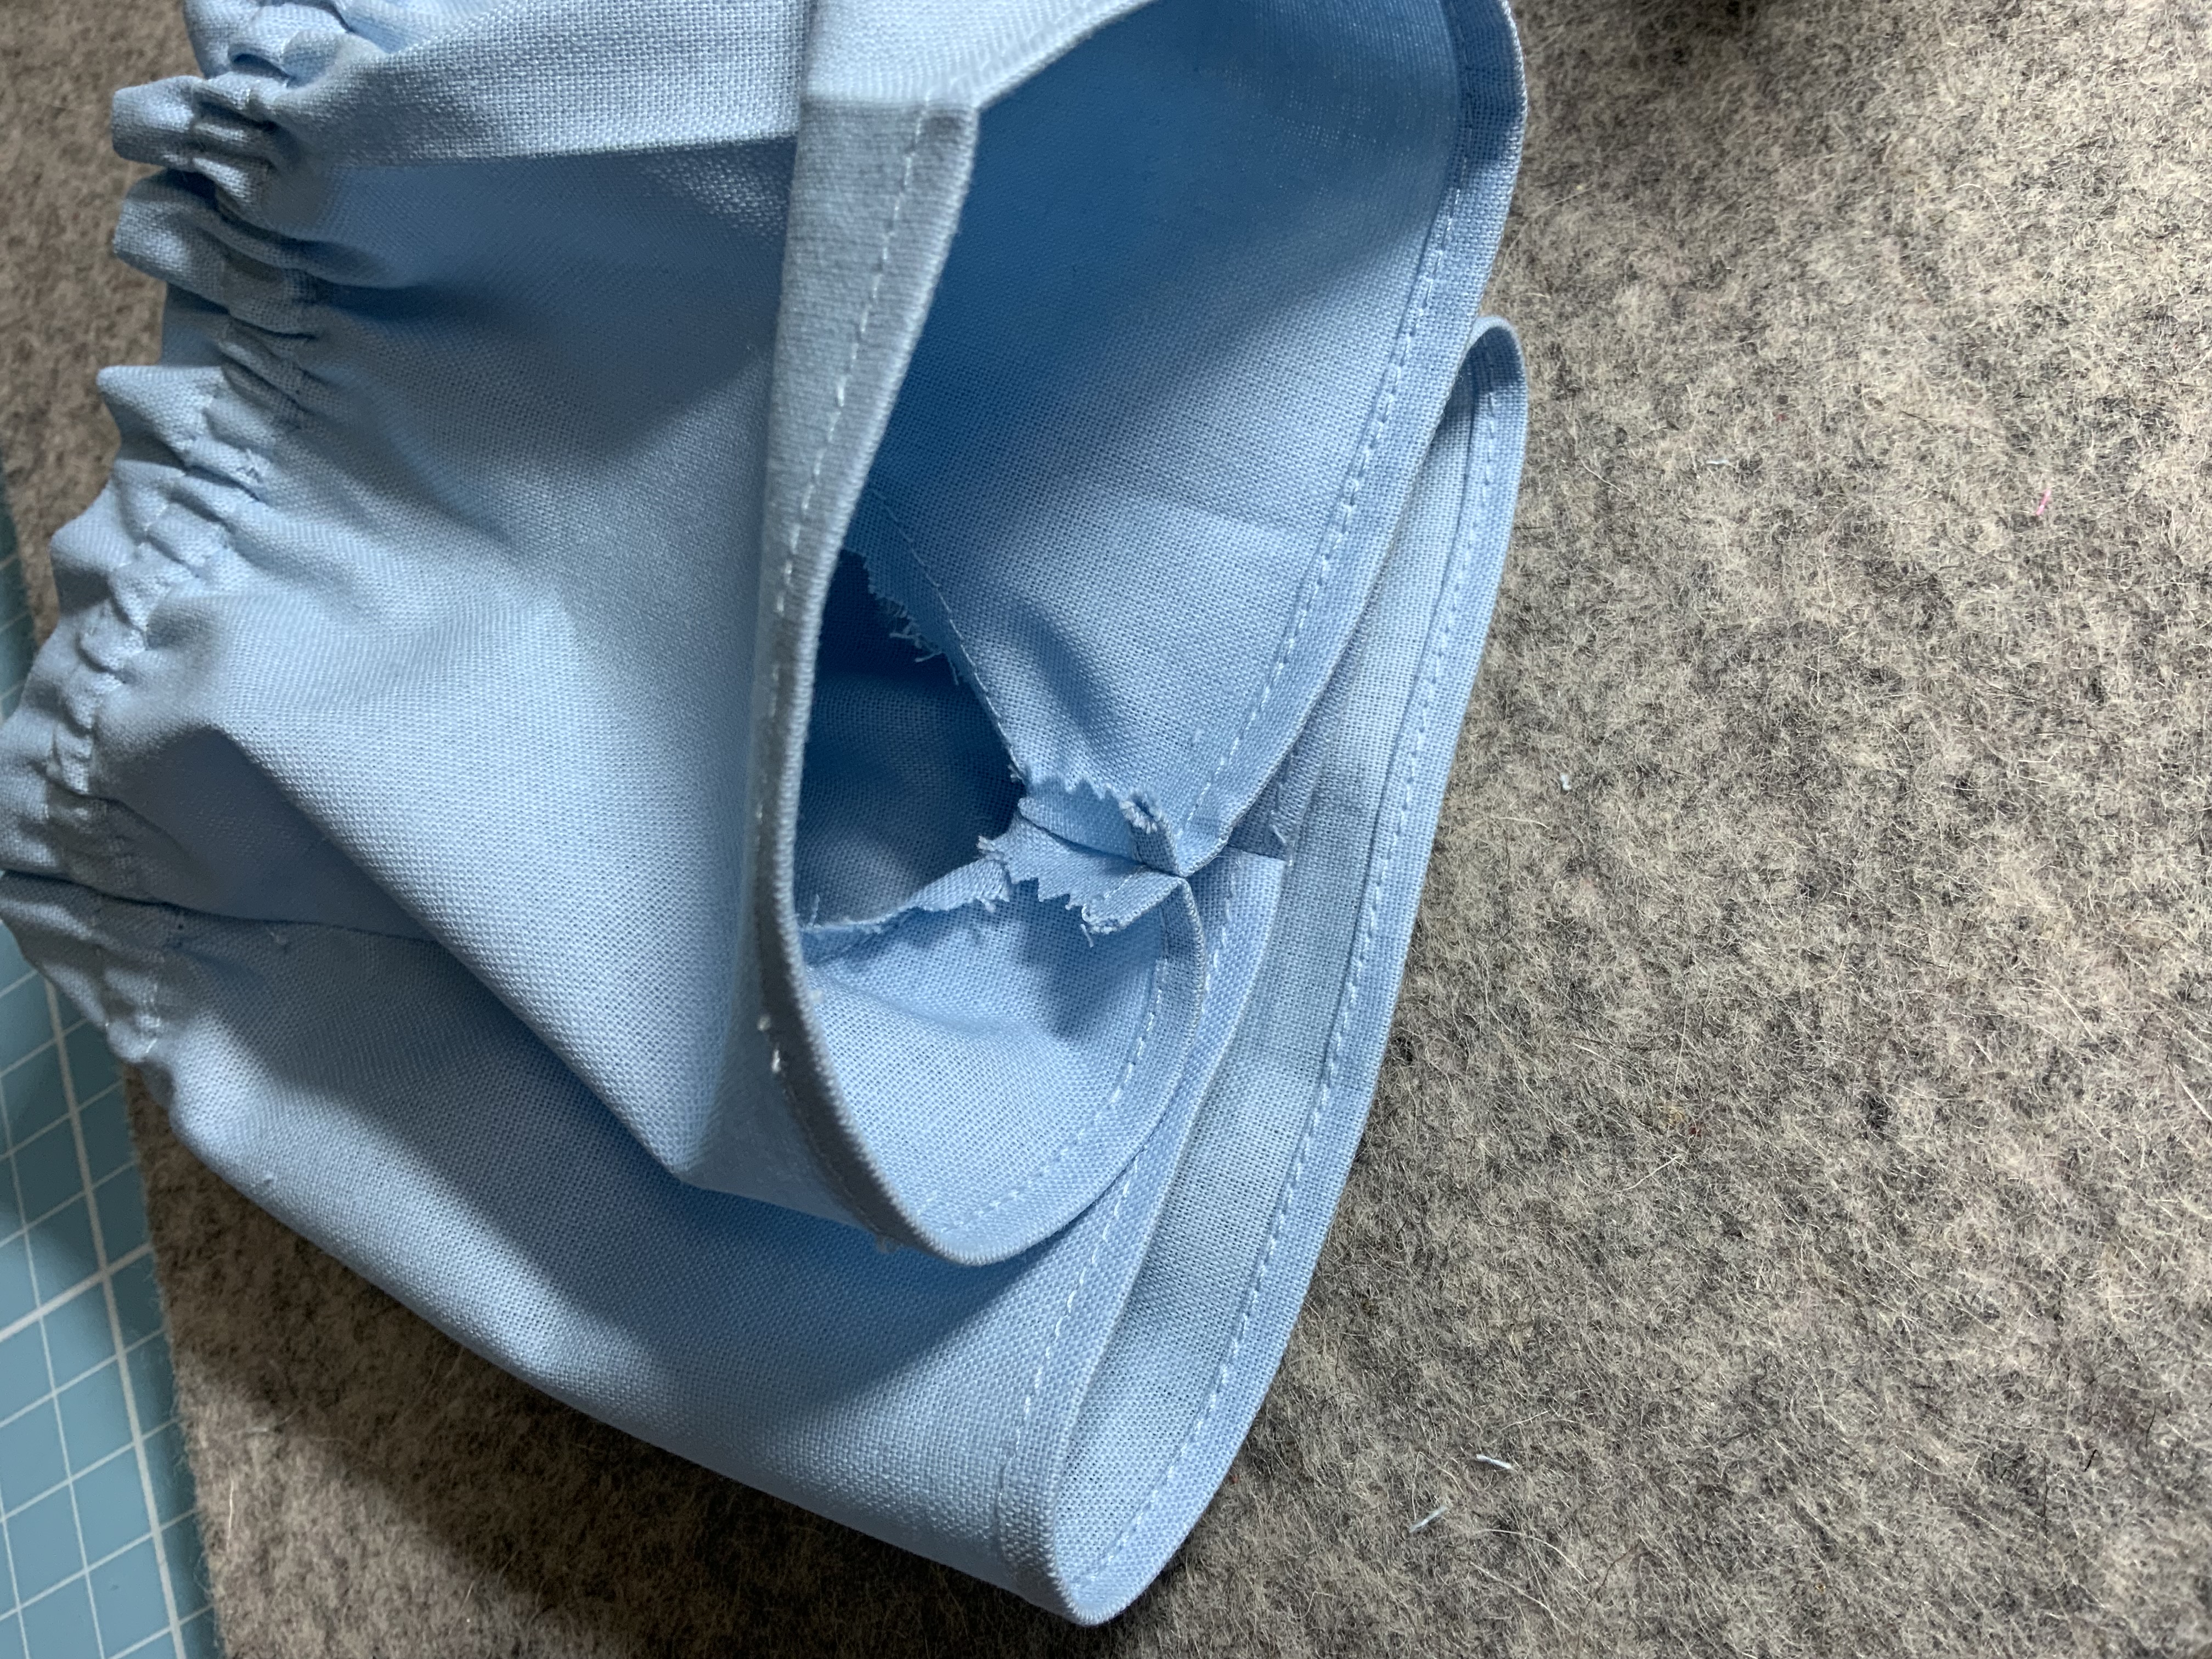
Since making the shorts I have come to the conclusion that it would be easier to add the belt loops before stitching the centre back seam. I found it awkward to fit the waist under the needle with the back seam sewn.
This photo shows the back seam stitched up. The back belt loops are a bit further from the centre than the front loops. Without the back seam stitched you will need to put your marker pins 1 1/4" from the raw edge of the centre back.
Create the back loops in the same manner as the front loops.
Part 7: Finishing the Seams
Stitch the back seam. Pink the seam allowance and press it open.
Stitch the crotch seam. Pink the seam allowance and press it open.
Part 8: The Belt
Cut 24" of 3/8" ribbon for the belt.
Fold over 3/4" on each end and stitch. Pink the end if you think it needs it.
I did a big fold over and left a distance between the stitching and the end because it is fiddly to sew across the ribbon and it can fray through the stitching sometimes.
You have to undo the belt to put the shorts on and off. This means tying and untying the ribbon.
I did a different version with the belt just in the front. You can find the photo tutorial here (soon).
You can find the hacked pattern piece in the shop here is you don't want to do the hack yourself.