Monday, July 23, 2018

1813 Gathered Pull-ons Doll Clothes Pattern by Valspierssews

Proudly presenting my Updated Gathered Pull-ons

I first put this pattern together in 2015. Being only no.13 it is one of my first patterns. The instruction format has changed dramatically since I first published it.

I started out doing instructions that were only meant to be read on the screen. They looked like this...


Then I changed to diagrams and instructions that could easily be printed but my sewing steps were still a bit unskilled I suppose. I was trying things that were not the best way for doll clothes.
The instructions looked like this...

My latest patterns and some of the ones I have updated are now much easier to read and understand. I have also refined how I do hems and side seams, elastic casings and facings and hems for skirts and dresses.

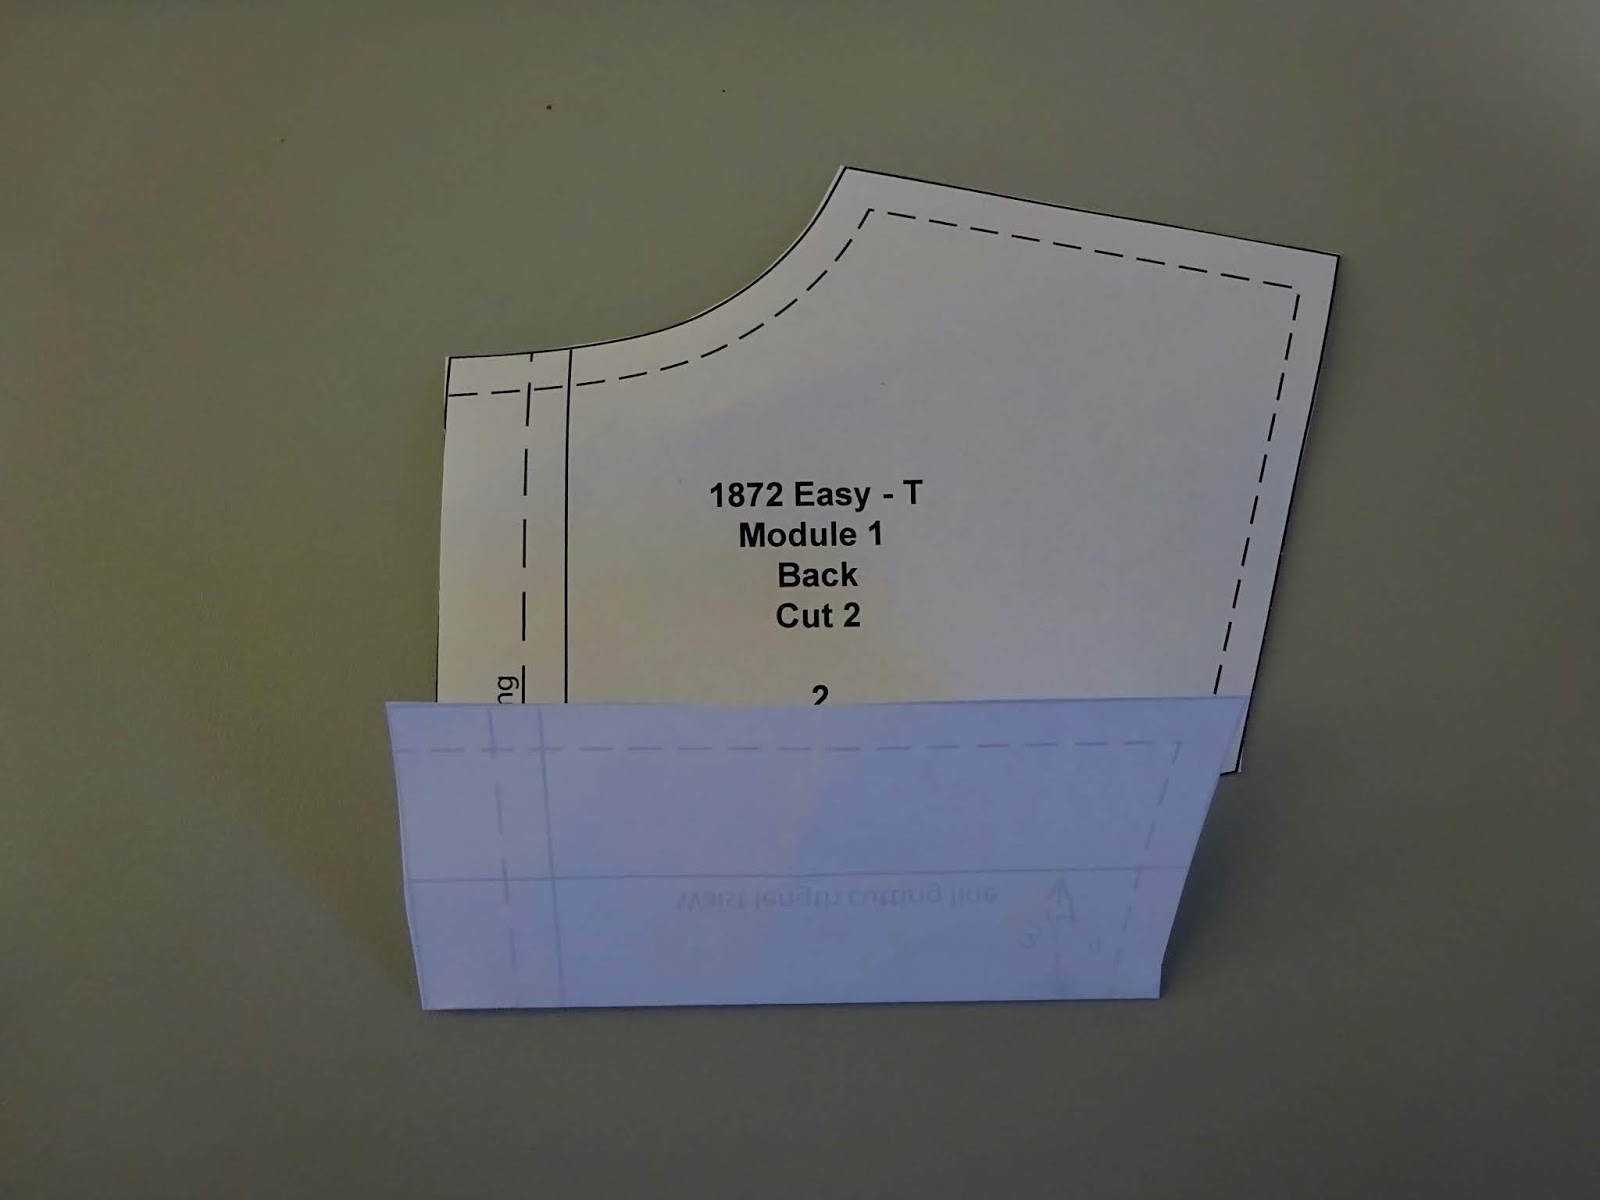
I have worked out that many of the people sewing methods that are important for how large people sized garments look and drape are of no importance when it comes to small doll clothes.

The latest update for 1813 instructions looks like this...

I have clarified the separate views, I have enlarged the headings and included more steps in the instructions. I have also resized the pattern envelope so you can now just fold the instructions in half and slip them in the envelope.

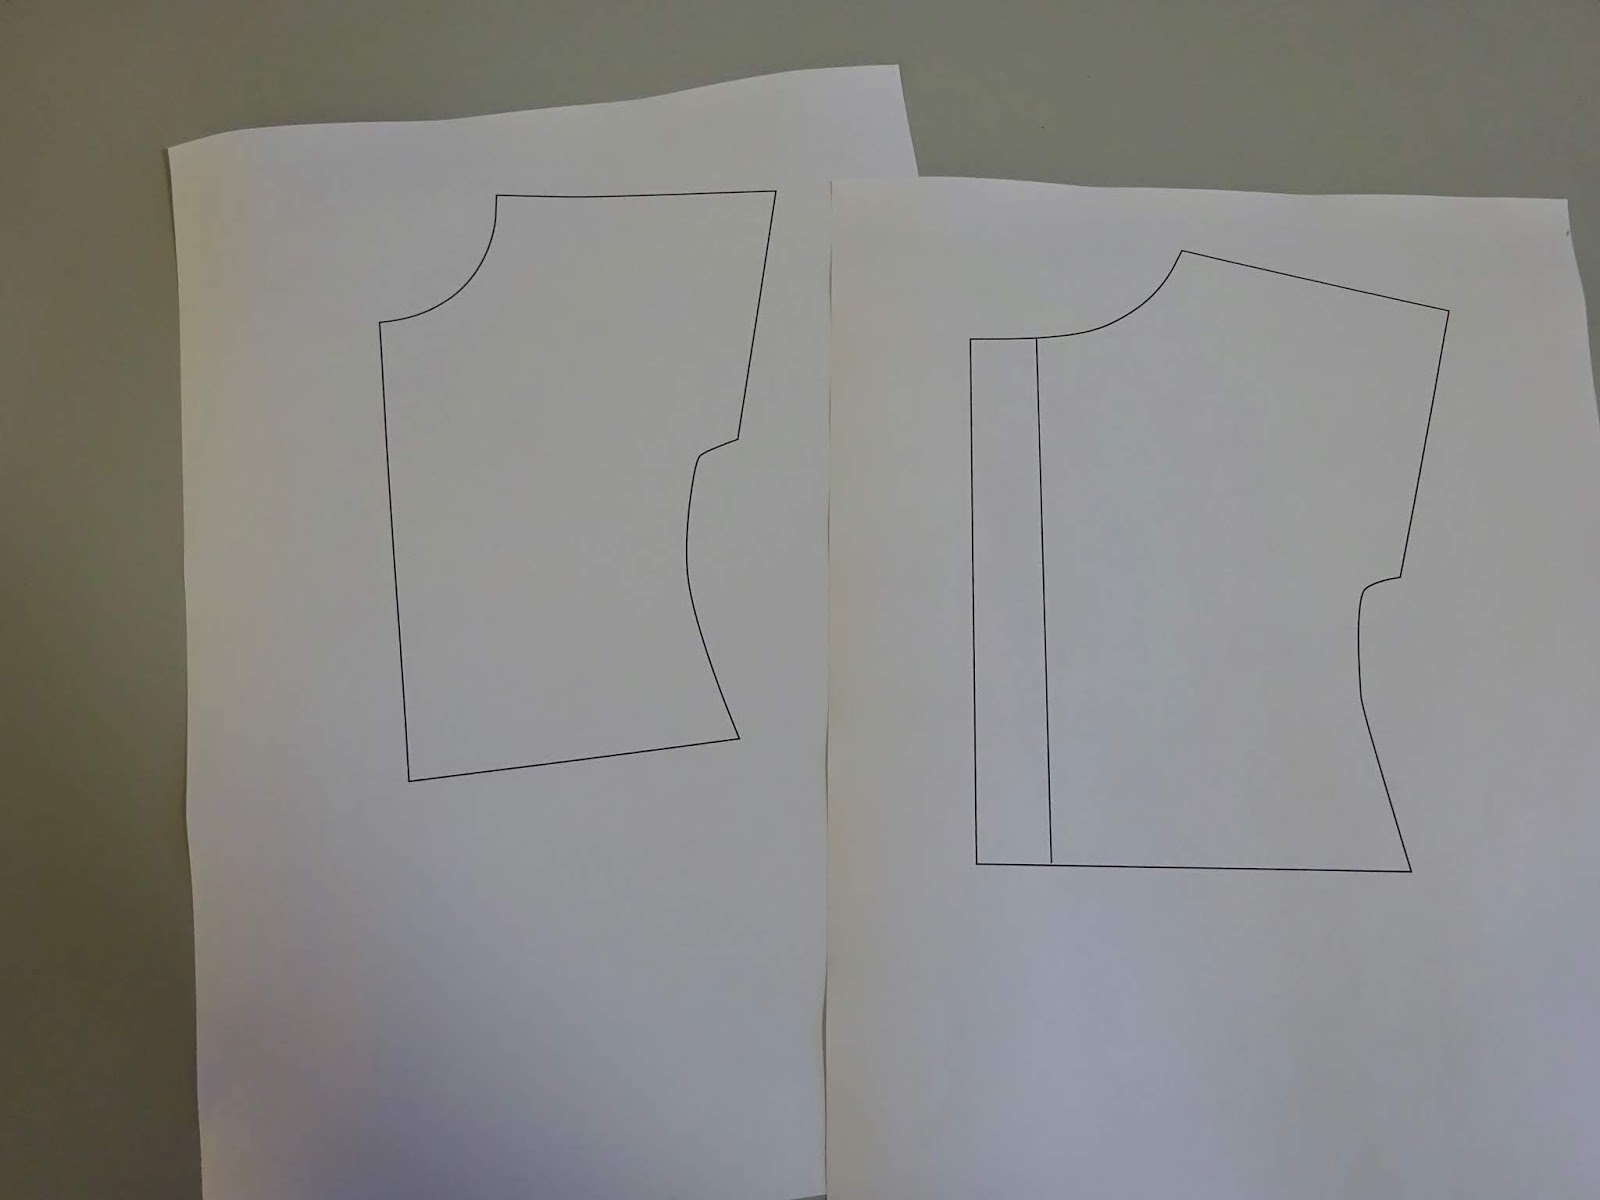
While doing all this I have not found it necessary to change the shape of the pattern pieces for 1813. My first design is still good and fits great and has lots of options so you don't have to experiment with lengths of different shorts or trousers.

You get the neat trousers and shorts as well as the well gathered boxer style for pyjamas or cute shorts or even track pants.

They fall just on the waist

The boxers are great for cuteness

You get different casing styles as well.

The bias casing looks different.

And to top it all off I have already put together a fashion file for pieced pants that you can easily copy without buying more patterns. I have several other fashion file variations on the drawing board too.

A photo from the FF5 blog post
It may sound a bit too good to be true but I started out with a mission to provide versatile patterns at a great price and that its what I am still doing.
One day I may get into creating more complex or specialised designs, but for now I just enjoy making cute doll clothes and patterns to inspire others to make doll clothes. I can't help rapidly adding new designs to my shop. It is like an obsession to keep creating.

I have learnt that maybe my designing and drafting skills are a bit more advanced than some of my followers - I have been practicing designing and drafting and sewing doll clothes nearly every day for 4 years now - so I have started to write up some of my fashion files as published patterns in my shop to make the designs available to everybody.

Look out for my update on the pieced pants from FF5. The blog post from 2017 is HERE if you want to draft them yourself.


If you want to follow along on my fantastic journey of doll dress making and tailoring you should sign up for my newsletter. I have offers for free patterns and links to my blog posts as well as special offers in my shop and news about any updates I do. I also add a few bits about me and my life and other things I like to do.

If you can't wait for the newsletter you can usually find out what I am doing if you Like my Facebook page.

Happy Sewing ,
Val

P.S.
You can find me in these places.

My Shop
Doll Clothes Patterns by Valspierssews

My Newsletter

My Facebook Page


Circle me on  

Saturday, July 21, 2018

1883 High Waist Suspender Skirt Doll Clothes Pattern by Valspierssews

valspierssews


If you have been waiting for the high waist suspender skirt with the circle skirt then I am happy to announce that you can now purchase it in my Etsy Shop.

The two suspender skirt designs are very cute and very 50s looking. Especially if you add the vintage blouse with the piping.


There are two styles for the circle skirt. View 1 has the front cut on the fold and View 2 has a centre front seam and is cut on the bias. The skirt with the CF seam is perfect for plaids, checks and even stripes.


I did my bias cut version out of a light weight wool fabric to make a winter outfit. The bias cut makes it drape nicely. For the top I made a turtleneck from double knit ponte fabric using my Classic Knits pattern that will be out soon.


You won't find any knit patterns in the shop except the easy-t just yet because I am revamping the original 1801.  The original was a bargain but it was a bit over the top for inexperienced doll dressmakers. I got a bit carried away in the early days thinking that everyone could just throw together any option they liked from lots of pattern piece variations. 

Slight adjustment for light winter fabric

If you want to make a winter suspender skirt I explain in the high waist pattern that you will need to make just a slight sewing adjustment for the waist band. All you need to do it stitch each end of the waist band at 1/8" seam allowance but the top edge is still 1/4" seam allowance. This makes the waist band about 1/4" longer allowing for the thicker fabric in the skirt as well as the thicker fabric you may want to use for the sweater top. You will also need to adjust the back facing of the circle skirt down to 3/8" instead of the usual 1/2".


Because this design is simple as far as I am concerned it will go up at $4 AUD like the other simple suspender skirt design. My usual price is $5 AUD (about $3.70 USD) with the occasional more time consuming design up around $6 to $8 AUD.
You may find that each year I add a bit more as sales drop off on the earlier patterns and my skills improve for the later patterns but my aim is to provide top quality at a price I think is reasonable for an instant download.
I can't compete with the Joanne's sales on tissue patterns but I also think a pdf download that you can print out on sturdy printer paper and renew whenever it gets a bit rough, makes instant downloads better value.

I have lots of great instant downloads in my Etsy Shop.
Make sure you have a look around when you pop over the get your copy of 1883 High Waist Suspender Skirt.

Happy Sewing,
Val

Wednesday, July 18, 2018

Full Instructions for 1850/2050 Godette Skirt

Doll Clothes Pattern by Valspierssews

I had pretty much forgotten that the godette skirt only had basic instructions until a lady left a review to that affect. What! I thought. I had a look and sure enough my experiment with basic instructions was still up there.

I decided not to go in that direction and actually I have tried to make the instructions clearer in all my patterns by repeating the instructions for each view if there are more than just small differences. I figured it is easier just to choose a view then follow one set of instructions instead of having to refer to parts of another view.


So, I have written out full instructions for the godette skirt and put them into the listing on Etsy. If you already have the pattern I have contacted you with a link to the update.


You can buy this pattern in my Etsy shop

Happy Sewing,
Val

Monday, July 16, 2018

FF30 Fashion File to make a cute baby doll dress from 1872 Easy T


I just love sewing knits. They are so easy to handle and they look fabulous.

Are you put off by the idea of sewing knit fabrics?

Do you wish you could make cute t-shirts but think it must be hard to do?

Sure, knits are different from wovens but they are not any harder to sew.
Get yourself a stretch or jersey needle...
(but to be honest I don't always use my jersey needle. Sewing with a narrow zig zag seems to prevent snags and pulling).

You don't need any seam neatening. It would take a lot of pulling to make most knits unravel.
Of course there are exceptions and it is pretty obvious when you handle them.


Did you have a go at the Easy-T straight dress I made first? You can find it here.


Instructions to draft you own baby doll T

Print out new copies of the front and back of the Easy T Module 1 View 1

Measure 3/4" up from the waist length line and draw
a high waist line

If you have the version without the waist cutting line marked on
you just need to draw it in 1" above the bottom edge then do your
high waist line 3/4" above that.


You can do lots with the neckline but this time I am
just going to make it a fraction lower in the front by
drawing a smooth curve from the seam line at the CF
up to the neck edge on the pattern.

Trim off the neck and fold the bottom of the pattern
along the new high waist line. I fold it back then fold
it forward and leave it sticking up when I cut out.

Draw the new high waist line on the back

Fold on the line.

I planned for 8 3/4" finished length for the dress. 9" is normal short
but I wanted it a bit cute short but not as short as my straight t-shirt dress.
Subtracting the finished bodice length from the total I got 5" for the skirt
then added 1/4" waist seam allowance and 1/2" hem to get 5 3/4".
I cut two strips from my page 5 3/4" wide.
I then completed the skirt front by making a rectangle 5 3/4" x 6 1/4".
The 6 1/4" is half the front skirt plus one seam allowance.
Label the CF down the 5 3/4" side and name the piece.


I put the front on top of my second strip and made it 5 3/4" x 7".
The 7" allows for half the skirt back plus extra for the 1/2" facing plus
1/4" to create the 1/2" overlap on the finished back.

Draw in the facing fold line 1/2" from the side and label
the back facing and name the piece.
I added in the labels that the skirt was a high waist skirt
for the t-shirt dress so I would know it is a short skirt piece.

All the pieces together. Top back and front, Skirt back and front and
sleeve band and narrower neck band.

I usually fit the pieces on best I can. Here I am going to
cut the skirt out then refold the fabric and cut out the bodices.

Knit Stitching Tips

When doing neck bands I like to stitch the band together with
a narrow zig zag inside the seam allowance.
This holds the edges even when you stretch it.
You can see how narrow my zig zag is. It is barely 1 on my dial
and seems to look almost straight but it is enough to allow stretch and
stop the needle getting caught.

Don't stretch as you sew. It ends up curved.

Mark the centres of the neck band and bodice neck.

Pin at the centre and level with each end.

Hold one half and stretch it so the band fits the neck then
use a finger to hold things still while you put a pin it at your finger.
Do this on each half.

The bodice is looped between the pins.
Stretch the seam as you sew each section by holding it between your two hands
and letting it feed through. I use a narrow zig zag for seams and straight stitch for
top stitching, hems and facings.

I don't usually have a 1/2" hem. I would normally overlock it and turn up 1/4'.
This time I wanted it to look a bit flatter with no overlocking but also
be sure that it turned up cleanly with no running so I made it 1/2".

After stitching the waist seam I pressed it up and top stitched on the outside on
the bodice side of the seam securing the waist seam allowance with a straight stitch
You can see I haven't neatened the seams but they look neat.
The facing edges are just turned under and stitched down with a straight stitch the same as for the t-shirt.

Don't forget you can download an envelope to store the pieces you create
for your Custom Fashion Files.

Happy Sewing,
Val

Friday, July 13, 2018

How to Sew Doll Clothes: FF29 Make your own T-shirt Dress Using the T-shirt from 1872 Module 1

valspierssews

Nothing makes me happier than tinkering with my designs to create new designs. I do all the tricky drafting and all you have to do it find or imagine a design you like and use your available pattern pieces to put it together.

You will love how easy it is to create this cute design.

In this latest Fashion File I show you how to create a well fitting garment with little or no drafting skills.

Many of my individual patterns work like this but I also have several different ranges of patterns and if you choose patterns within the same range you will find that you can mix and match many of the design elements to make new creations without even drawing any new lines.

The Snugfit Range has the most patterns but there are some LooseFit Range designs for making coats or jackets.


Instructions to make the Easy-T Dress with a scoop neck line


You need knit fabric and ribbing.
I decided on the dark ribbing for my dress

Trace around the front and back of the Easy T in Module 1.
Put them near the top of the page. 
I wanted my dress to be fairly short so I chose 9" from
the middle of the shoulder to the hemline including
the seam allowance and 1/4' hem. 


Extend the CF cutting line down to the hemline.

The side edge fits out around the hips already so
you just have to extend it down to the hemline.
When you cut out the pattern piece make it curve a bit.

For the back you need to add the same amount to
the bottom. I measured what I added to the front. It was 2 7/8".
Extend the back edge to meet the hem edge and extend the side edge.

When I make a lower neckline I measure up from
the under arm. I didn't want it too low so I made it
3/4" from the cutting line. That is 1/2" from the
finished under arm. (I have found that you don't want to go
lower than level with the finished under arm.)


I thought the neckline should come away from
the neck at the shoulders for an easy comfortable look.
Just a 1/4" wider.
Now start the scoop by coming in straight from the CF
then scoop up smoothly to your new shoulder neck edge.


The back shoulder neck edge has to also be 1/4" wider.
The neck doesn't have to be lower so just blend it
into the CB.

Add a few labels like BACK and FRONT, EASY-T DRESS,
CF PLACE ON FOLD, BACK FACING etc.

I am using the sleeve band and the narrower neck band.

I had a 1/2meter. Each pattern piece needs about 10".

To store my efforts for another time I printed out my custom
envelope design and made it up. The doll outline  is there. You
just have to sketch your design on then outline the doll bits
that stick out. I also coloured mine in a bit.

The envelope template was for my Newsletter subscribers so if you would like the envelope you will have to go here and sign up for my newsletter after you click to download the file.

You can download the narrow neck band on the updated bands page from this blog post. No sign up required but it is only the bands.
If you need the pattern you can get it from my Etsy Shop here.


Happy Sewing,
Val

Valspierssews
Dressmaker to the Dolls