Showing posts with label 20" Doll Design. Show all posts

Wednesday, October 3, 2018

Vintage doll clothes petticoat. A 40s design.

Pattern by valspierssews

The latest in  the Underwear Collection is a cute 40s design. It has curved panels in the front and back and a nice neat flare at the hem.


The instructions are for lace at the neck and armholes but 1/2" bias makes a good facing too.


The hem can be cut at this length or cut up to 1/2" longer. It can be made longer with lace at the hem too if you like. It is perfect for the 20" Australian Girl Doll.


It is also really sweet on the 17" Baby Born doll

It opens all the way down the back and I use velcro patches for ease of dressing.


Batiste is a perfect fabric that is easy to sew and has a nice crisp look about it.

Best of all this petticoat is part of my newsletter offer for October 2018 and will be free to download with the newsletter for a few weeks in October only. Iy then goes into my shop.


Make sure you are signed up for the newsletter. You can click on the link below. There are always great offers.


If you like doll dressmaking you should also join in the discussions on design in my Facebook group.
Click the link to join.


Wednesday, July 18, 2018

Full Instructions for 1850/2050 Godette Skirt

Doll Clothes Pattern by Valspierssews

I had pretty much forgotten that the godette skirt only had basic instructions until a lady left a review to that affect. What! I thought. I had a look and sure enough my experiment with basic instructions was still up there.

I decided not to go in that direction and actually I have tried to make the instructions clearer in all my patterns by repeating the instructions for each view if there are more than just small differences. I figured it is easier just to choose a view then follow one set of instructions instead of having to refer to parts of another view.


So, I have written out full instructions for the godette skirt and put them into the listing on Etsy. If you already have the pattern I have contacted you with a link to the update.


You can buy this pattern in my Etsy shop

Happy Sewing,
Val

Friday, June 1, 2018

Doll totes for fun. New Patterns in My Shop.

Valspierssews
Patterns

  • Making tote bags for your 18" dolls can be a bit hit and miss. If you have a pattern then you don't have the hassle of experimenting to get the right scale.
  • Another stumbling point is the length of the handles. With a pattern you don't have to measure and test, just cut out the handles and make the bag.
  • Getting the steps done in the right order can also be a challenge. With a set of step by step instructions you can have bags made for any outfit in quick time before you lose interest in accessories.
  • Any of the 5 bags below can be a starting point for lots of creative ideas or you can just buy them all and get comfortable with the steps before getting adventurous.


The patterns start with Bag 2 because Bag 1 was created a long time ago and is undergoing some reformatting before it gets relaunched.

So Bag 2 is the flower Tote. I suppose you can call it size 2, with 1 being the biggest. (Bag 1 is size 1)
You can make the unusual button hole strap closure or just make a normal strap.
I'm thinking the daisy addition to the strap could be a heart or a star or a ghost or a spider depending on the theme you want to go with.


Bag 3 is a stylish pleated tote. I was thinking this one might look nice reduced in size a bit. At around 70% the top of the bag is still big enough to top stitch around. I will have to experiment with this. At present it is size 2 on my scale.

Instead of pleats you can also just gather the panel to fit the top piece.


Bag 4 I call the HiLo Tote because you cut the bag main low and the lining high. With the pattern to work from this tote is easy to make and has lots of potential to morph into different variations.

I have even included the pattern piece and instructions to make the variation with the wrap around handles. No calculating or experimenting. Why not take the design and run with it to make pockets that fit between or under the handles in either view.
There is also plenty of space on the front panel to add trims and embellishments and applique.


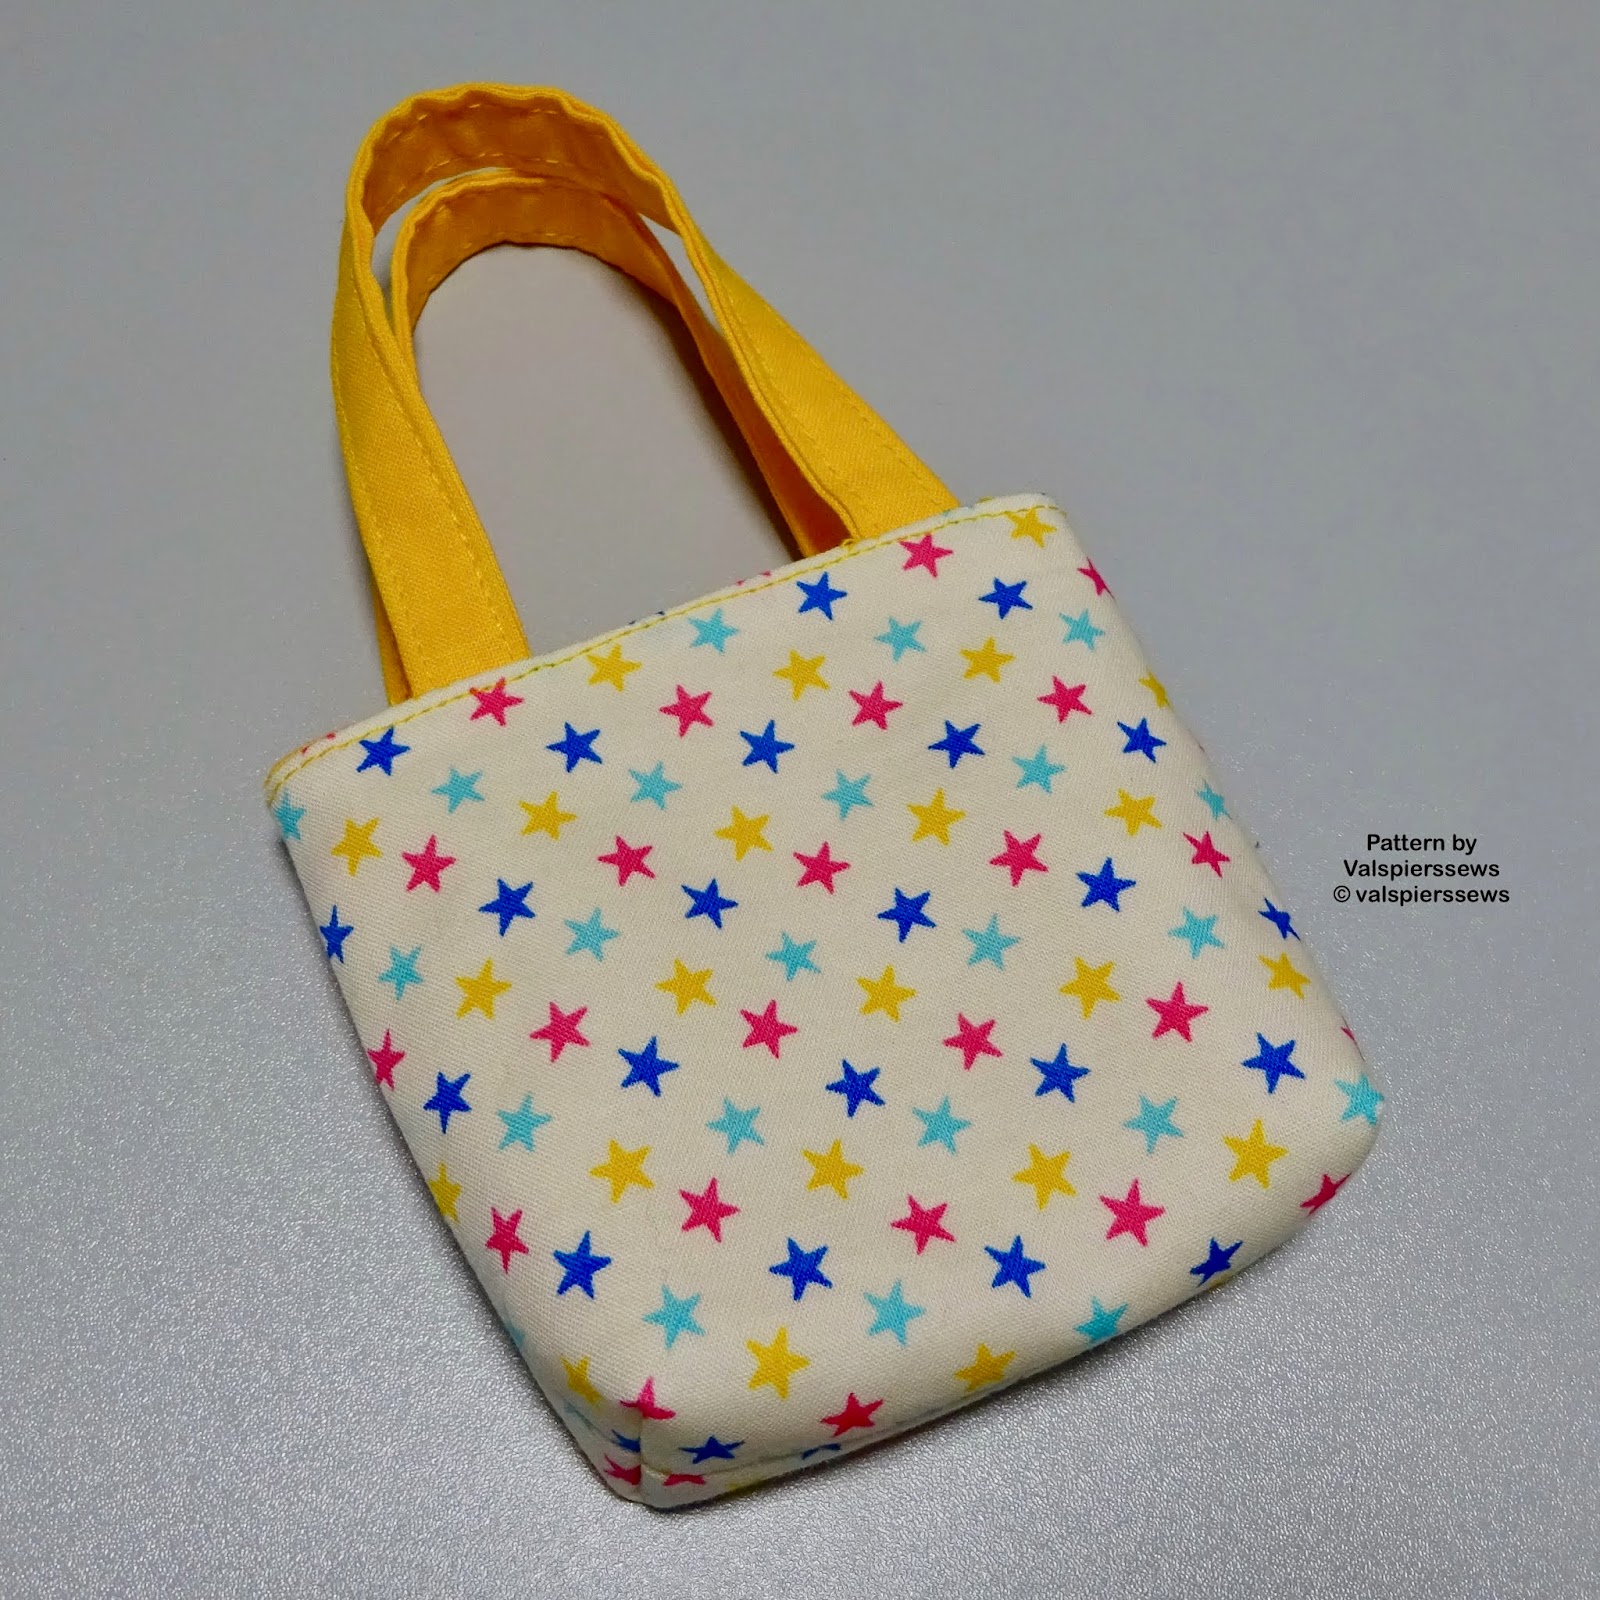
Bag 5 is the basic bagged tote in size 3 on my scale. Just a bit smaller than bags 2, 3 and 4.
I thought that even though it is a basic design it is still a good place to start when learning about tote bags.
Not just for beginners though, because with a good basic design to begin with you can start creating lots of new designs for yourself.
You can make this one reversible too.


Bag 6 is also size 3 and I guess you could call it a variation of bag 5 but I had to play around a bit to get the scale of the pieces right for the outside panels and also get the handles narrow but not too narrow.
Having a pattern certainly makes it easier to get a great design first go.

In my FB group I have been absorbing all the tips and ideas from the wonderful members. One idea was to add small suffolk puffs to our doll clothes. When I made this bag design I knew the yoyo was going to be perfect.
I have even included the circle as a pattern piece. (There are no instructions for the suffolk puff included but I worked out that you have to stitch around the outside of the circle by hand to get the puff to look right. There are plenty of instructions on line.)

I am thinking that this design will look good with mini pom pom trim in between the panels. You can easily add a small loop for a purse dangle using a D ring for style or maybe cut pieces to make an outside pocket level with the piecing seam line.


What an adventure. I think I can now understand a bit more how my fellow doll clothes makers feel about shoes :D

I couldn't help getting quite excited about the potential of all these designs. I can see bags and purses becoming one of my favourite doll things to make. I have lots of trims and quite a few different fabrics like vinyl and leather that I can play with. Oh! and zips and bag feet and rivets and grommets!


Happy Sewing,
Val

Tuesday, September 26, 2017

How to sew doll clothes: Lining a kimono sleeve bodice


Pattern by Valspierssews


This is a photo tutorial that goes with my Trapezium Dress and T-shirt pattern No. 1868/2068. It is both 18 and 20 because it fits American Girl 18" dolls and Australian Girl 20" dolls.

Pattern by Valspierssews

Stitching up the side seams of the lined bodice is a bit difficult to represent in diagrams so there is a link to this post on the title page of the pattern that you purchase.

After you have stitched the main bodice to the lining around the neck and back edges and the hem edges of the sleeves you trim the seams and clip the curves. Then you turn it right side out and press it.
The next steps are for the side seams.

Place the bodice flat on your bench. I have marked the critical points with my big safety pins. First you bring together the underarms of the main fabric only.

This bodice is the longer bodice not the high waisted bodice
you are supposed to use with the Tapezium Dress. I didn't
realise I had cut out the wrong length until after I had sewn
on the skirt. I had to unpick it and cut the bodice shorter.
One day I will learn to follow my own instructions!


Next you bring together the waist edges of the main fabric only.


Then you have to pick it all up and move the lining out of the way a bit so you can bring together the ends of the sleeve hem seam. I nest the seams one to each side.


Bring the underarms of the lining together.


Then pin the waist edges of the lining.


You get a donut. That's what I think it looks like anyway.


Stitch the seam. Trim the seam. Then carefully clip into the underarm of the both the main and the lining.


Hold the sleeve in your hands so your thumbs go inside the main sleeve. (My other hand is holding the camera).


Pull the main fabric through until you see the lining.


Leave the sleeve lining inside the main sleeve. Smooth out the sleeve hem seam. Press it. Top stitch around the sleeve hem edge. Turn up your cute cuff.


Happy sewing,
Val

Wednesday, September 6, 2017

Making a Sundress from Valspierssews 18" Underwear No.2 Pattern

My Underwear No.2 design for 18" dolls is perfect for a sundress. Here is how I did the straps on mine.


I cut 2 pieces of dress fabric 1 1/4" wide and about 6" long.

Overlock both long edges.
I then folded over the long sides to the middle and pressed them.


Next, I top stitched 1/8" from the fold down both sides.


I made the strap this way because I didn't want it to be too thick. You could use the usual double fold handle or strap method with a 2" wide piece of fabric.

Pin them to the front over the side front seams right sides together. Baste them in place.


Measure the strap to be 5 1/2". I then pinned them to the back edge. Make sure you don't twist the straps.


I tested it on the doll to make sure the straps sat neatly.


Baste the straps to the back. Then overlock the top edge including the ends of the straps.

Fold over the 1/4" hem allowance for the top edge and top stitch all the way around. Make sure the straps are well out of the way.


You could make it for your Australian Girl Doll as well. It is a fraction short but some trim around the hem edge should make it perfect.
You can find the pattern in my Etsy Shop. 

It is Underwear No.2 Petticoat and Bloomers.

Happy Sewing,
Val