Showing posts with label photo tutorial. Show all posts

Sunday, August 30, 2026

Photo Tutorial: sewing the collar on the open neck blouse

 Sometimes doing something for the first time is a bit tricky.

Once you see how it goes together it all makes sense.

With that I mind I have created this photo tutorial to explain and show the steps for getting started with the open neck blouse. I cut out everything with pinking shears.


Pin the collar pieces right sides together. Make sure you leave the correct side open. It is a bit less pointy than the other side. Sew around the 3 edges. I don't bother trimming the seams. Just snip the corners and turn the collar right side out. Gently push out the corners.

Now way back when I first designed this blouse I was still thinking in people size and used the techniques I learnt when making clothes for myself. The pattern instructions tell you to stay stitch the open side of the collar and snip it. DON'T BOTHER. The pieces are so small that snipping is not required.


Fold both the front facing to the inside. Just match up the neck and shoulder edges and make sure the hem edges are straight then press the fold.


Sew each shoulder seam making sure the front facing is out of the way.


Press the seams open.


Once again the instructions say to stay stick the neck edge and snip it. Again, DON'T DO THIS.

With the bodice and collar right side up pin the centre of the collar to the centre back of the bodice. Measure 3/8" from the front facing fold and mark it with pins.


Pin the ends of the collar level with the marker pins then gently stretch the bodice neck and add more pins. At least one at the shoulder seams and one more before the end pin. If you are a beginner doll dress maker you might want to baste the collar to the neck at this stage. You will need to gently stretch the neck as you sew.


Fold each front facing back along the fold line. Use the pin already in the collar to pin the facing and collar near the fold. Use the pin at the shoulder seam to pin the facing a bit past the shoulder seam.


Stitch from one facing fold to the other with the collar facing up. You will need to gently stretch the bodice neck edge as you go. You may have to adjust the raw edges so they stay aligned. Turn it over to check your success. I was a bit careless and let my neck raw edge slip a bit so I only just caught it in the seam. That's OK. It will get stitched with the under stitching step. Basically You are looking for pleats or obvious misses that will need to be unpicked and fixed.


On the other side I didn't keep the shoulder seam open as I sewed over it. But I am not going to bother fixing that.


Snip the corners at each end then turn the facings right side out. Gently push out the corners.


Press the collar seam where the front facing is on each side and,

turn it over and press the collar seam down.


The collar seams need to be pressed towards the bodice so you can stitch it down.


Before stitching down the collar seam you need to stitch the shoulder of the front facings to the bodice. Pin them so they line up with the shoulder seams. They should fall past the seam line of the bodice shoulder.  Stitch them in place from the wrong side. Follow the seam ditch.


You can hardly see it from on the right side.


Under stitch the collar on the right side. Start about an inch from the facing fold and stitch 1/8" from the seam line. Make sure you are stitching through the seam allowances that you have pressed down previously.


The collar seam allowances now stay in place.


Line up the fronts as tough you are closing the blouse. Line it up with the centre back so it looks neat. Pin the revers to the front to hold them for ironing.


I pressed the neck open just up to where it meets the collar. Then I press the centre of the collar at the back where it naturally rolls to help it sit flat.

Happy Doll Dressmaking,

Val


Monday, July 16, 2018

FF30 Fashion File to make a cute baby doll dress from 1872 Easy T


I just love sewing knits. They are so easy to handle and they look fabulous.

Are you put off by the idea of sewing knit fabrics?

Do you wish you could make cute t-shirts but think it must be hard to do?

Sure, knits are different from wovens but they are not any harder to sew.
Get yourself a stretch or jersey needle...
(but to be honest I don't always use my jersey needle. Sewing with a narrow zig zag seems to prevent snags and pulling).

You don't need any seam neatening. It would take a lot of pulling to make most knits unravel.
Of course there are exceptions and it is pretty obvious when you handle them.


Did you have a go at the Easy-T straight dress I made first? You can find it here.


Instructions to draft you own baby doll T

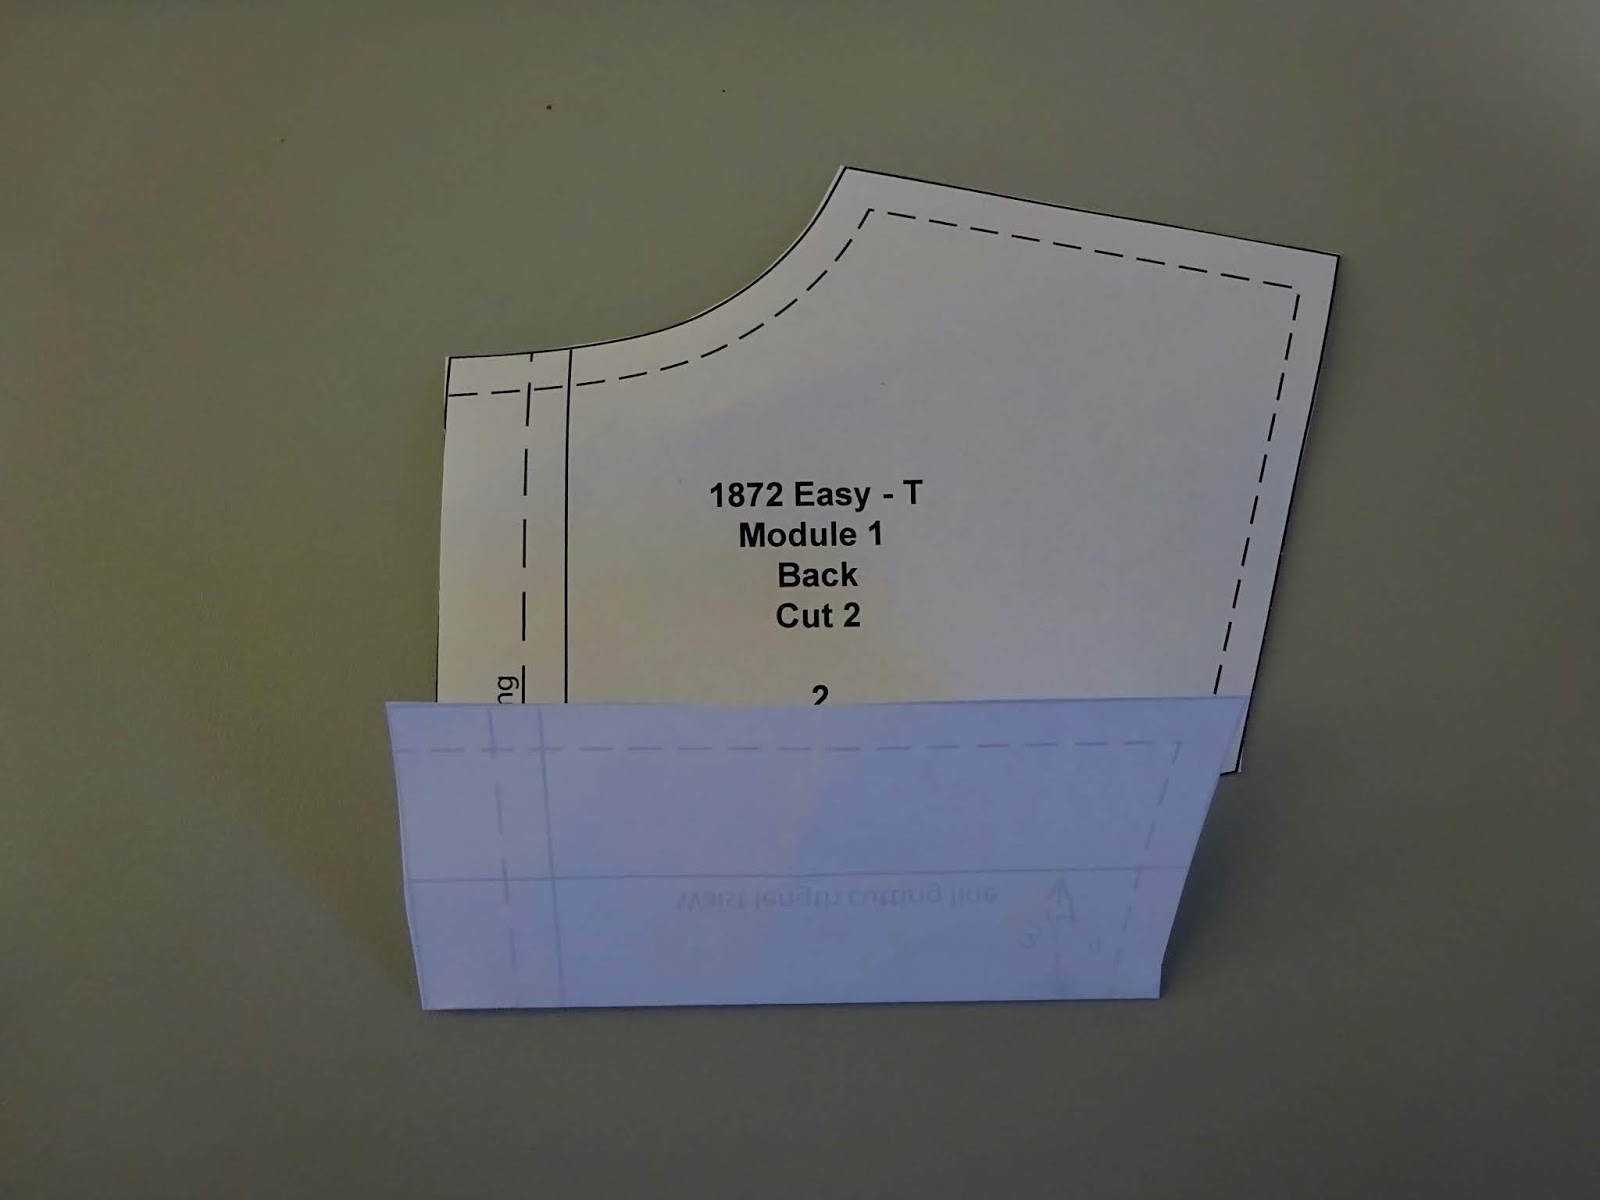
Print out new copies of the front and back of the Easy T Module 1 View 1

Measure 3/4" up from the waist length line and draw
a high waist line

If you have the version without the waist cutting line marked on
you just need to draw it in 1" above the bottom edge then do your
high waist line 3/4" above that.


You can do lots with the neckline but this time I am
just going to make it a fraction lower in the front by
drawing a smooth curve from the seam line at the CF
up to the neck edge on the pattern.

Trim off the neck and fold the bottom of the pattern
along the new high waist line. I fold it back then fold
it forward and leave it sticking up when I cut out.

Draw the new high waist line on the back

Fold on the line.

I planned for 8 3/4" finished length for the dress. 9" is normal short
but I wanted it a bit cute short but not as short as my straight t-shirt dress.
Subtracting the finished bodice length from the total I got 5" for the skirt
then added 1/4" waist seam allowance and 1/2" hem to get 5 3/4".
I cut two strips from my page 5 3/4" wide.
I then completed the skirt front by making a rectangle 5 3/4" x 6 1/4".
The 6 1/4" is half the front skirt plus one seam allowance.
Label the CF down the 5 3/4" side and name the piece.


I put the front on top of my second strip and made it 5 3/4" x 7".
The 7" allows for half the skirt back plus extra for the 1/2" facing plus
1/4" to create the 1/2" overlap on the finished back.

Draw in the facing fold line 1/2" from the side and label
the back facing and name the piece.
I added in the labels that the skirt was a high waist skirt
for the t-shirt dress so I would know it is a short skirt piece.

All the pieces together. Top back and front, Skirt back and front and
sleeve band and narrower neck band.

I usually fit the pieces on best I can. Here I am going to
cut the skirt out then refold the fabric and cut out the bodices.

Knit Stitching Tips

When doing neck bands I like to stitch the band together with
a narrow zig zag inside the seam allowance.
This holds the edges even when you stretch it.
You can see how narrow my zig zag is. It is barely 1 on my dial
and seems to look almost straight but it is enough to allow stretch and
stop the needle getting caught.

Don't stretch as you sew. It ends up curved.

Mark the centres of the neck band and bodice neck.

Pin at the centre and level with each end.

Hold one half and stretch it so the band fits the neck then
use a finger to hold things still while you put a pin it at your finger.
Do this on each half.

The bodice is looped between the pins.
Stretch the seam as you sew each section by holding it between your two hands
and letting it feed through. I use a narrow zig zag for seams and straight stitch for
top stitching, hems and facings.

I don't usually have a 1/2" hem. I would normally overlock it and turn up 1/4'.
This time I wanted it to look a bit flatter with no overlocking but also
be sure that it turned up cleanly with no running so I made it 1/2".

After stitching the waist seam I pressed it up and top stitched on the outside on
the bodice side of the seam securing the waist seam allowance with a straight stitch
You can see I haven't neatened the seams but they look neat.
The facing edges are just turned under and stitched down with a straight stitch the same as for the t-shirt.

Don't forget you can download an envelope to store the pieces you create
for your Custom Fashion Files.

Happy Sewing,
Val

Friday, July 13, 2018

How to Sew Doll Clothes: FF29 Make your own T-shirt Dress Using the T-shirt from 1872 Module 1

valspierssews

Nothing makes me happier than tinkering with my designs to create new designs. I do all the tricky drafting and all you have to do it find or imagine a design you like and use your available pattern pieces to put it together.

You will love how easy it is to create this cute design.

In this latest Fashion File I show you how to create a well fitting garment with little or no drafting skills.

Many of my individual patterns work like this but I also have several different ranges of patterns and if you choose patterns within the same range you will find that you can mix and match many of the design elements to make new creations without even drawing any new lines.

The Snugfit Range has the most patterns but there are some LooseFit Range designs for making coats or jackets.


Instructions to make the Easy-T Dress with a scoop neck line


You need knit fabric and ribbing.
I decided on the dark ribbing for my dress

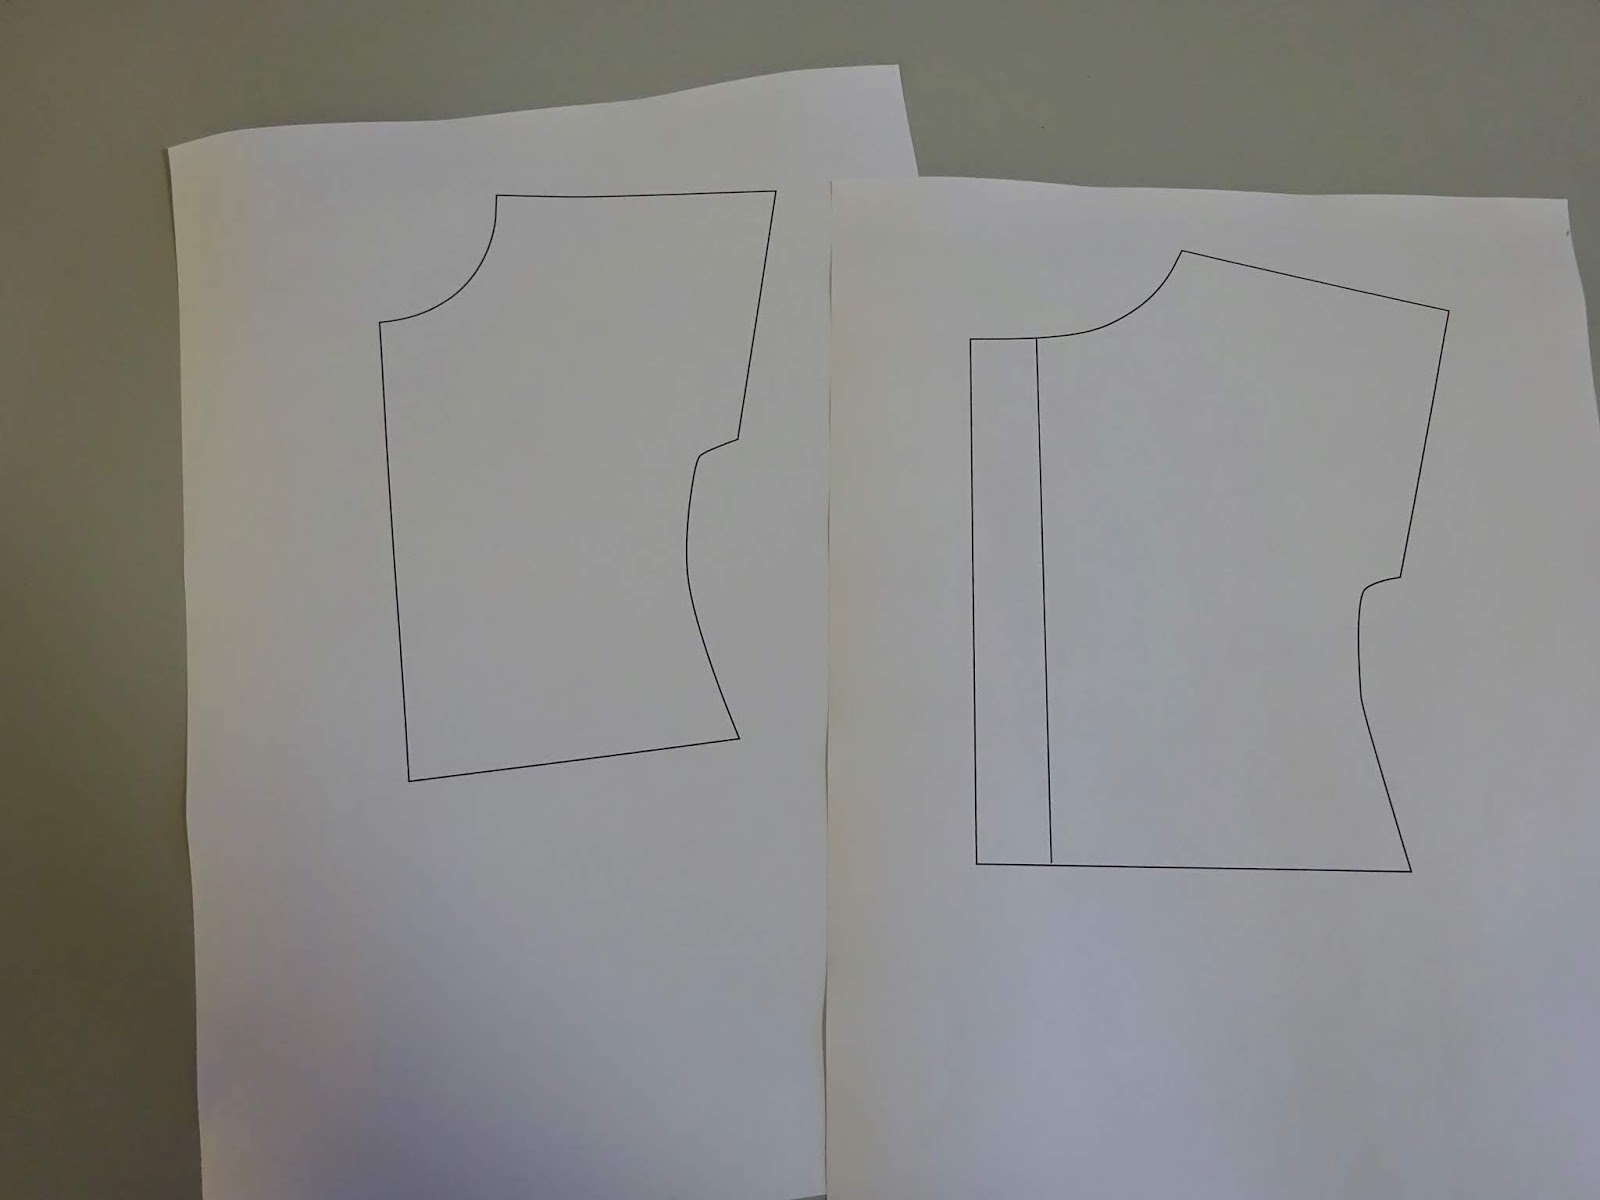
Trace around the front and back of the Easy T in Module 1.
Put them near the top of the page. 
I wanted my dress to be fairly short so I chose 9" from
the middle of the shoulder to the hemline including
the seam allowance and 1/4' hem. 


Extend the CF cutting line down to the hemline.

The side edge fits out around the hips already so
you just have to extend it down to the hemline.
When you cut out the pattern piece make it curve a bit.

For the back you need to add the same amount to
the bottom. I measured what I added to the front. It was 2 7/8".
Extend the back edge to meet the hem edge and extend the side edge.

When I make a lower neckline I measure up from
the under arm. I didn't want it too low so I made it
3/4" from the cutting line. That is 1/2" from the
finished under arm. (I have found that you don't want to go
lower than level with the finished under arm.)


I thought the neckline should come away from
the neck at the shoulders for an easy comfortable look.
Just a 1/4" wider.
Now start the scoop by coming in straight from the CF
then scoop up smoothly to your new shoulder neck edge.


The back shoulder neck edge has to also be 1/4" wider.
The neck doesn't have to be lower so just blend it
into the CB.

Add a few labels like BACK and FRONT, EASY-T DRESS,
CF PLACE ON FOLD, BACK FACING etc.

I am using the sleeve band and the narrower neck band.

I had a 1/2meter. Each pattern piece needs about 10".

To store my efforts for another time I printed out my custom
envelope design and made it up. The doll outline  is there. You
just have to sketch your design on then outline the doll bits
that stick out. I also coloured mine in a bit.

The envelope template was for my Newsletter subscribers so if you would like the envelope you will have to go here and sign up for my newsletter after you click to download the file.

You can download the narrow neck band on the updated bands page from this blog post. No sign up required but it is only the bands.
If you need the pattern you can get it from my Etsy Shop here.


Happy Sewing,
Val

Valspierssews
Dressmaker to the Dolls