
Nothing makes me happier than tinkering with my designs to create new designs. I do all the tricky drafting and all you have to do it find or imagine a design you like and use your available pattern pieces to put it together.
You will love how easy it is to create this cute design.
In this latest Fashion File I show you how to create a well fitting garment with little or no drafting skills.
Many of my individual patterns work like this but I also have several different ranges of patterns and if you choose patterns within the same range you will find that you can mix and match many of the design elements to make new creations without even drawing any new lines.
The Snugfit Range has the most patterns but there are some LooseFit Range designs for making coats or jackets.
 |
Instructions to make the Easy-T Dress with a scoop neck line |
 |
| You need knit fabric and ribbing. I decided on the dark ribbing for my dress |
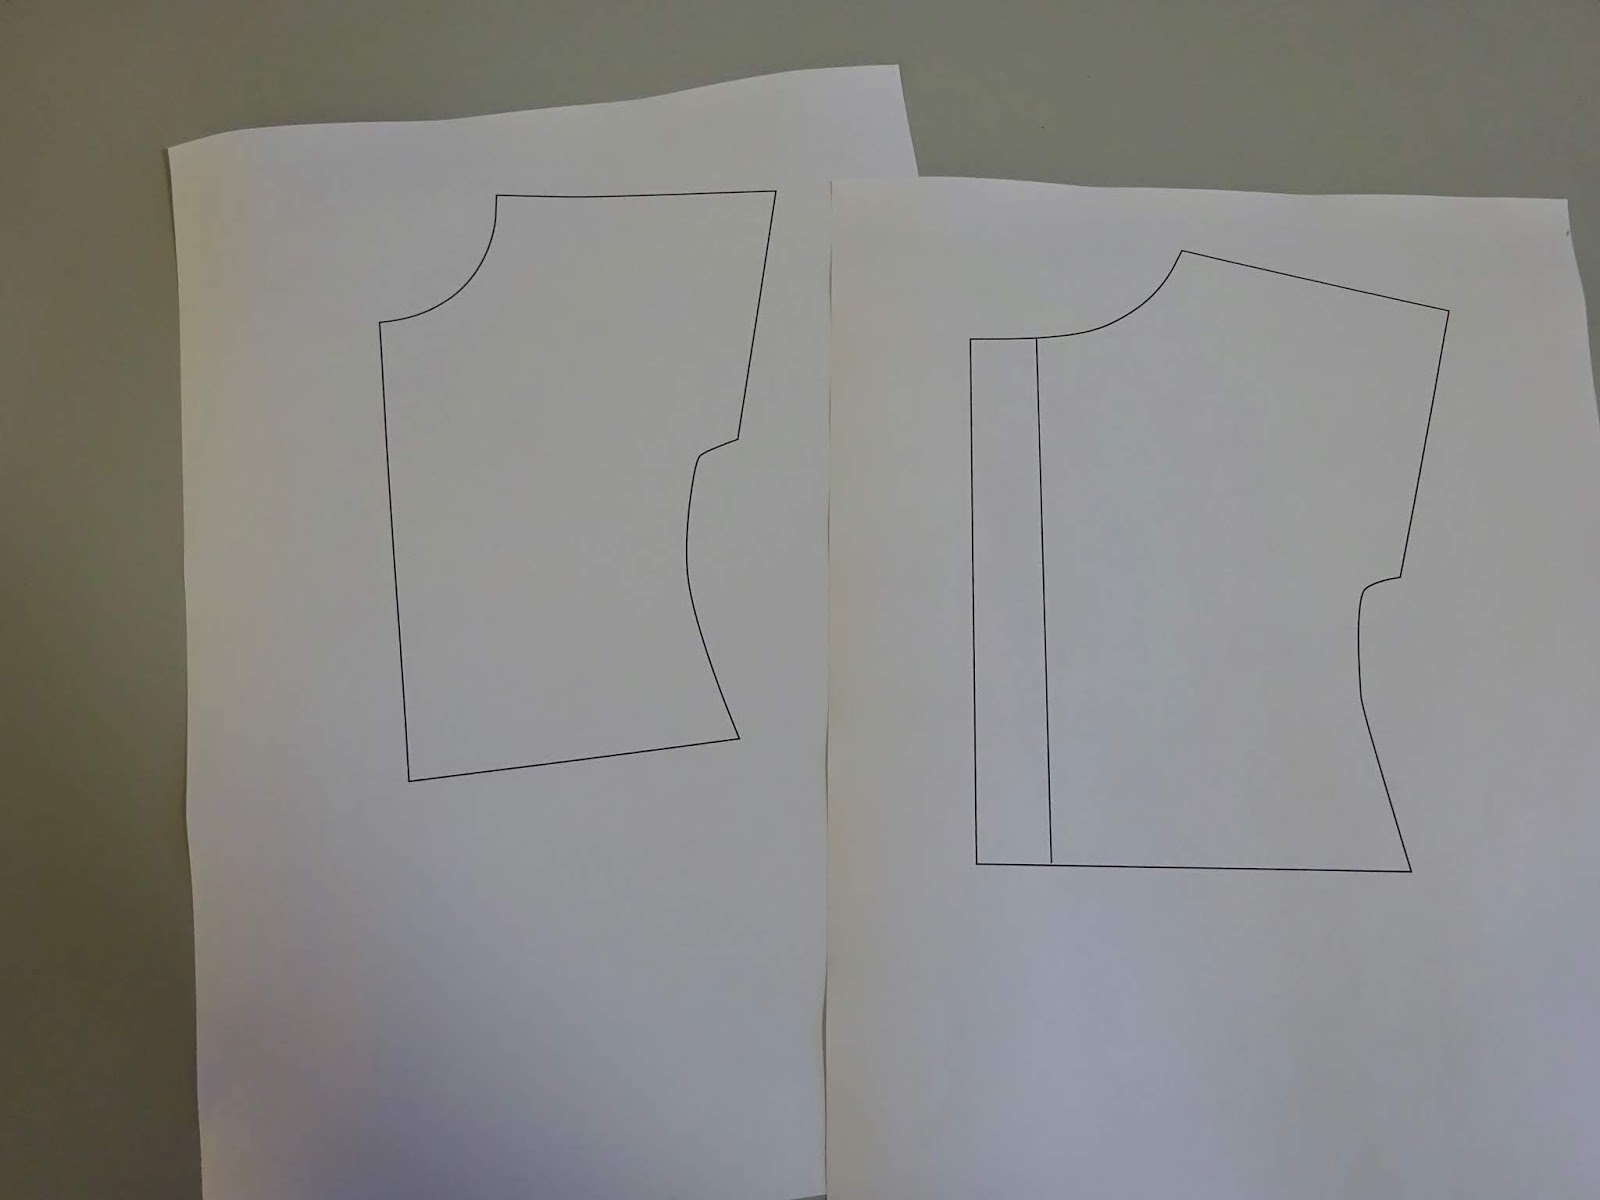 |
| Trace around the front and back of the Easy T in Module 1. Put them near the top of the page. |
 |
| I wanted my dress to be fairly short so I chose 9" from the middle of the shoulder to the hemline including the seam allowance and 1/4' hem. |
 |
| Extend the CF cutting line down to the hemline. |
 |
| The side edge fits out around the hips already so you just have to extend it down to the hemline. When you cut out the pattern piece make it curve a bit. |
 |
| For the back you need to add the same amount to the bottom. I measured what I added to the front. It was 2 7/8". Extend the back edge to meet the hem edge and extend the side edge. |
 |
| When I make a lower neckline I measure up from the under arm. I didn't want it too low so I made it 3/4" from the cutting line. That is 1/2" from the finished under arm. (I have found that you don't want to go lower than level with the finished under arm.) |
|
| I thought the neckline should come away from the neck at the shoulders for an easy comfortable look. Just a 1/4" wider. Now start the scoop by coming in straight from the CF then scoop up smoothly to your new shoulder neck edge. |
 |
| The back shoulder neck edge has to also be 1/4" wider. The neck doesn't have to be lower so just blend it into the CB. |
 |
| Add a few labels like BACK and FRONT, EASY-T DRESS, CF PLACE ON FOLD, BACK FACING etc. |
 |
| I am using the sleeve band and the narrower neck band. |
 |
| I had a 1/2meter. Each pattern piece needs about 10". |
 |
| To store my efforts for another time I printed out my custom envelope design and made it up. The doll outline is there. You just have to sketch your design on then outline the doll bits that stick out. I also coloured mine in a bit. |
You can download the narrow neck band on the updated bands page from this blog post. No sign up required but it is only the bands.
If you need the pattern you can get it from my Etsy Shop here.

Happy Sewing,
Val
Valspierssews
Dressmaker to the Dolls
No comments:
Post a Comment
Note: Only a member of this blog may post a comment.