Sunday, March 24, 2019

Gathered skirts are perfect for dolls: Part 2 - How to make your own pattern and Free 14" skirt pattern


Please share this great pattern by Pinning the image above or sharing on FB.

Gathered skirts are a quick and simple garment for any doll.

If you have a skirt or dress that fits your doll you can make a pattern for a gathered skirt.

  • Measure the circumference of the skirt hem
  • Measure from the place you want the finished skirt to start and end. Just above the true waist (narrowest part of the torso) down to just above the knee.
  • Add what is needed for the type of casing you want. 
  • Add what is needed for the hem you want.
  • Measure the elastic around the waist of the doll dressed in a top that will tuck in. The ends of the elastic should just meet.
I have been experimenting with the skirt for the 14" Glitter Girl Doll. I trust it will fit the 14" Wellie Wisher Doll.
Even knowing the 5 steps above there is some trial and error involved. 
  • I tried several different ways to gather the waist
  • I tried several different types of elastic
  • I had to adjust the length a couple of times to get it looking just right.
  • I also found that for the smaller doll the hems and trim made the skirt stick out too much because they made the hem edge to stiff for the length of the skirt
Because I am a designer I like to experiment and see what affect different variables have on the finished garment.

I want to share the latest project with you.


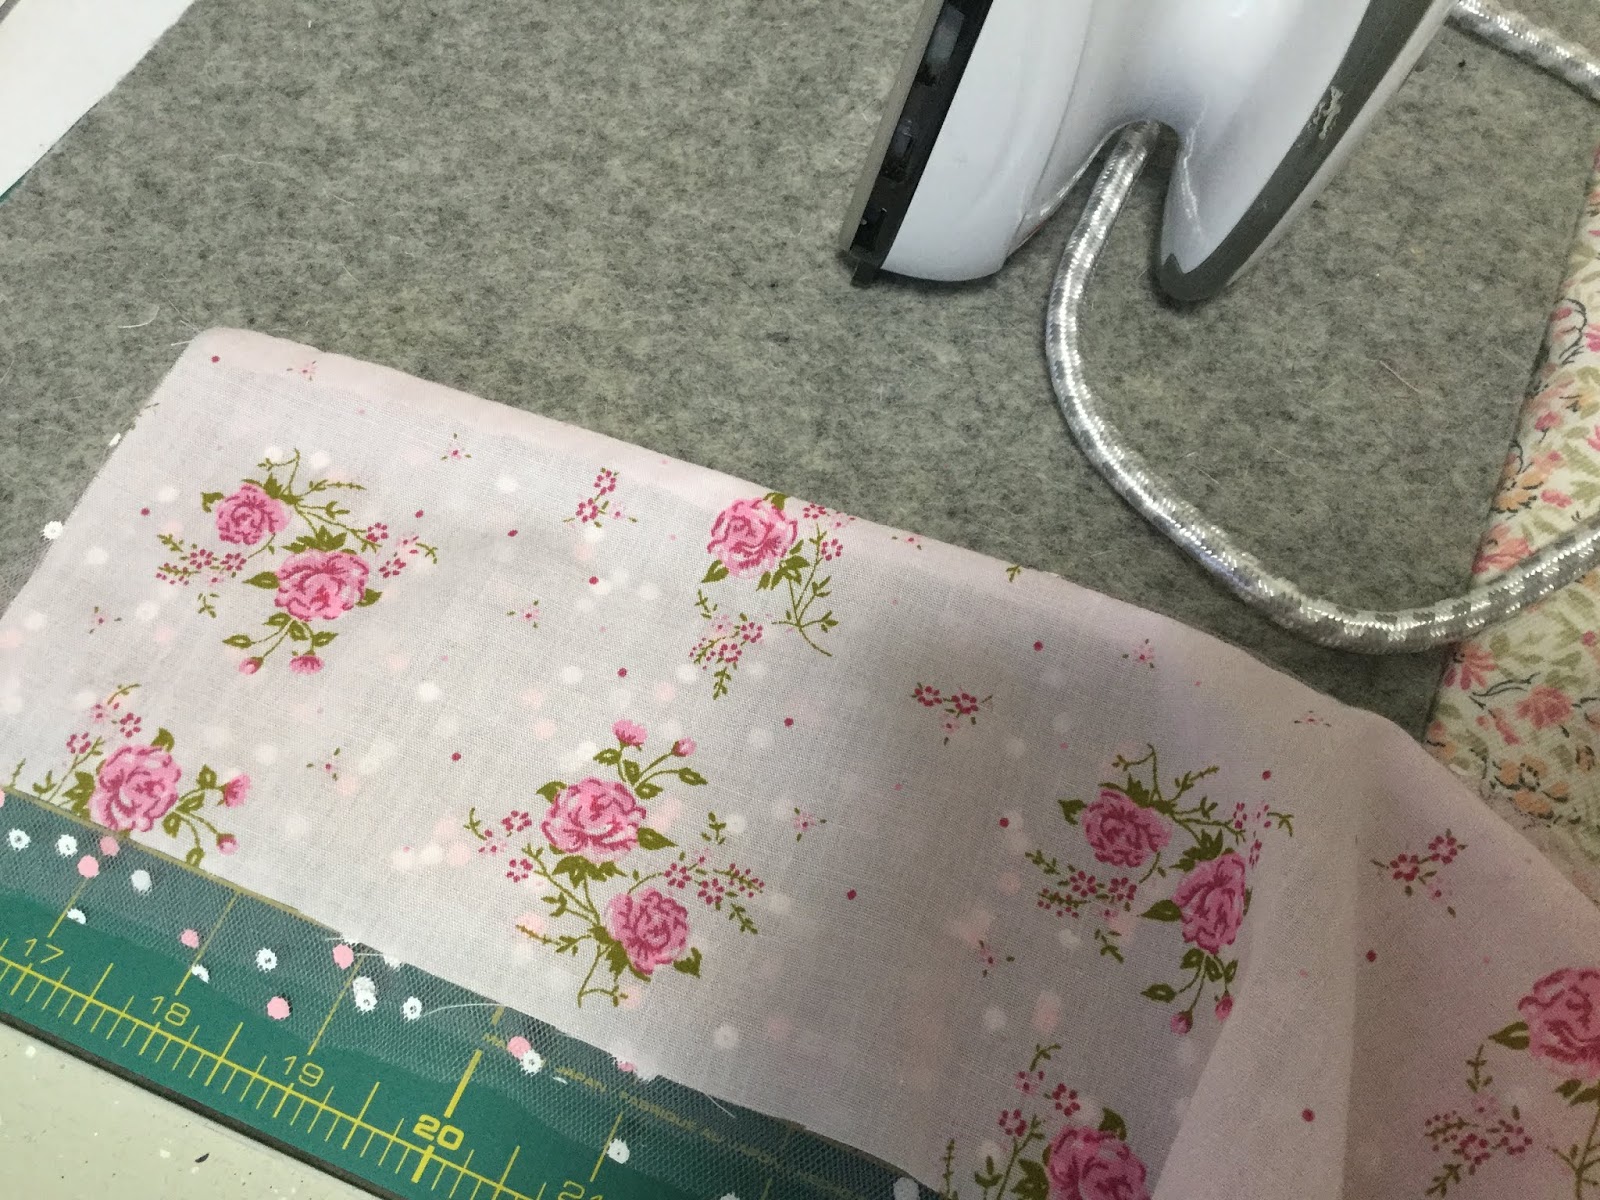
It is a gathered skirt with an underskirt and a top skirt. It has two layers of netting for the underskirt that stick out below the top skirt by about a 1/2". The top skirt has a 1/4" hem and is made from light weight woven fabric that is not too stiff. Patchwork cotton works well.

I stitched the two layers of netting right side up on top of the right side of the top skirt using a 1/4' seam. I didn't trim the seam allowance.

I folded the layers so the seam was enclosed then stitched the casing rows.


It is easy to thread the elastic from CB to CB across the waist edge then you just stitch the CB seam.

If you would like to have a go making this skirt for your 14" doll I have created a new item in the Fashion File and Patterns section of my Free Resources on Teachable. You will have to sign up or sign in if you are returning. 

You get the pattern and a photo tutorial.


If you are new to Teachable, when you sign up I will transfer your email to my mailing list. If you decide you don't want my newsletter it is easy to unsubscribe. However, you will stay signed up to access the Free Resources.

Over the next few months I will be tooting my horn about the amazing sterling silver earrings that I design and my husband hand crafts by cutting out the shapes from silver sheets.
I have just set up another Etsy shop called AussieHandmade.


Even if you don't want to buy earrings I hope you will go and have a look and favourite the shop or a few items. They are really well made but I think he is a bit nervous about putting them out there.

Don't forget: 


and


Friday, March 8, 2019

New T-shirt Doll Clothes pattern for the 18" Boy Doll

Boy Doll clothes T-shirt doll clothes pattern for 18" dolls by valspierssews. Fits popular 18" dolls like American Girl Doll

Since discontinuing 1801 knit pattern to do a revamp of how it was presented, I have been doing bit on and off. I sat down finally and finished the t-shirt pattern for the boy.

It has a slightly wider neck than the girl t-shirt so it looks a bit more manly.
It has a slightly wider neck band so it looks bigger in general.
I made the armscye straighter as well as a bit lower in the underarm. This gives a more relaxed masculine look.
I made the side seams straight and the sleeves longer.


All these small changes go together to make the boy look like a boy rather than just a boy with a girl's shirt on.

Strangely the boy shirt looks great on the girl. It gives her a more little girl look because it doesn't have all the female fashion features.

I had to make lots of samples to get the look just right.


Get the pattern in my Etsy shop or my Australian shop (GST free for Australian and NZ Customers for 2019).

I intend to offer at least 2 more designs using the same front and back pieces. They will have long sleeves, a faux turtleneck, a v-neck, shorter bodice and longer bottom band to create a sweater vest, also bands and a lower neck line for a tank top.

I wanted to make this 1874 classic knits collection for the boys as affordable and comprehensive as possible and I will do the same with the revamped 1801 for the girls.
Once the basics are published I will have great fun making up lots of ways to create new designs from the classic shapes.
Some of these will be free and some will become retail fashion files.

If you have the old 1801 you will need to print out the back and front and cut out on the slim fit lines. Use the ribbing band pattern pieces and the short sleeve and you will have what you need to make the 1801 Module 1 Girl T-shirt

Here is a comparison between the girl and boy T-shirts.


You can find the 1801 Girl T-shirt with these links too.


If you love my patterns please pin the image at the top of the blog post.
If you love my patterns why not sign up for my newsletter. See the link at the top on the side bar.

Happy Doll Dressmaking,
Val


Friday, March 1, 2019

Gathered skirts are perfect for dolls: Part 1 - Inspiration Overload!

Gathered skirts are easy to make and don't have to be plain or boring. Here I describe some of the exciting styles that you can quickly make for your doll without a pattern

Just a few styles for you to get started with are:

  1. The rectangle with a fold over elastic casing
  2. The rectangle with a sewn on casing.
This petticoat has the top tier with a fold over casing. I just overlocked the top edge and folded the casing over. This one has a centre back seam that makes threading the elastic and finishing really easy.


This skirt has a sewn on waist band that matches the skirt.


I also love this one with the contrast waist band.


3. The sewn on casing opens the door to other styles like ones with pockets built in. 


4. You can have the casing as one long piece or give it side seams to fit in sashes that tie in front or in back. You can have a fitted waist band or an elastic waist band.


5. Ones with panels in the skirt are great for adding pockets that just sew right into the seams.


6. Try ones with panels in the casing so you can have the sash starting in from the side seams. Make the tie narrow and cross it over at the back and tie in the front

Any of the styles can have:

  • Growth pleats in the skirt for decoration


  • A contrast band sewn to the bottom either single with a hem or folded and double


  • or contrast binding sewn to the hem edge
  • or a ruffle of any width to make a tier or a border


  • What about knit fabrics and ribbing for a waist band. You can have narrow ribbing or wide so it folds over like yoga pants waistbands. You can have a tight skirt or a gathered skirt.


  • Then there are endless embellishment ideas. I will have to leave them for another post I think. You can see some great ideas for braids, bows and applique in the examples I have already included.

All of these designs can be easily made into doll clothes skirts. You can see more inspiration on my Gathered Skirts Board. You can make skirts with shaped waist bands or belts and belt loops. I love the ones with the top of the casing made to show as a feature.


In Part 2 I look at how you can determine the waist band for different dolls, what elastic width and length is most suitable and what length sashes and belts work best. Also, how to make belt loops.

In Part 3 I show you how to make some of the different styles.

If you like free stuff you should check out my Free Resources at dolldressmaking.teachable.com
Just sign up to see all the free sections.

Happy Doll Dressmaking,
Val