A friend of mine asked me if I would make an outfit for her vintage doll to replace the original clothes the doll came dressed in. You know how it is. The clothes were just gone.
If you think you are ready to move onto making a gathered skirt with a waist band I am slotting this blog post ahead of more elastic waist variations because I promised to dress the vintage doll.
I have quite a few skirt patterns in my Etsy shop. I have yet to publish them in my Aussie shop. Just let me know if there is something you want me to upload.
I love these vintage suspender skirts


Make sure you check out this tutorial for the Glitter Girl gathered skirt HERE.
And you can find lots more about designing a gathered skirt in this blog post HERE
Also you can join my free resources library.
How to sew a gathered skirt for your doll
The skirt part
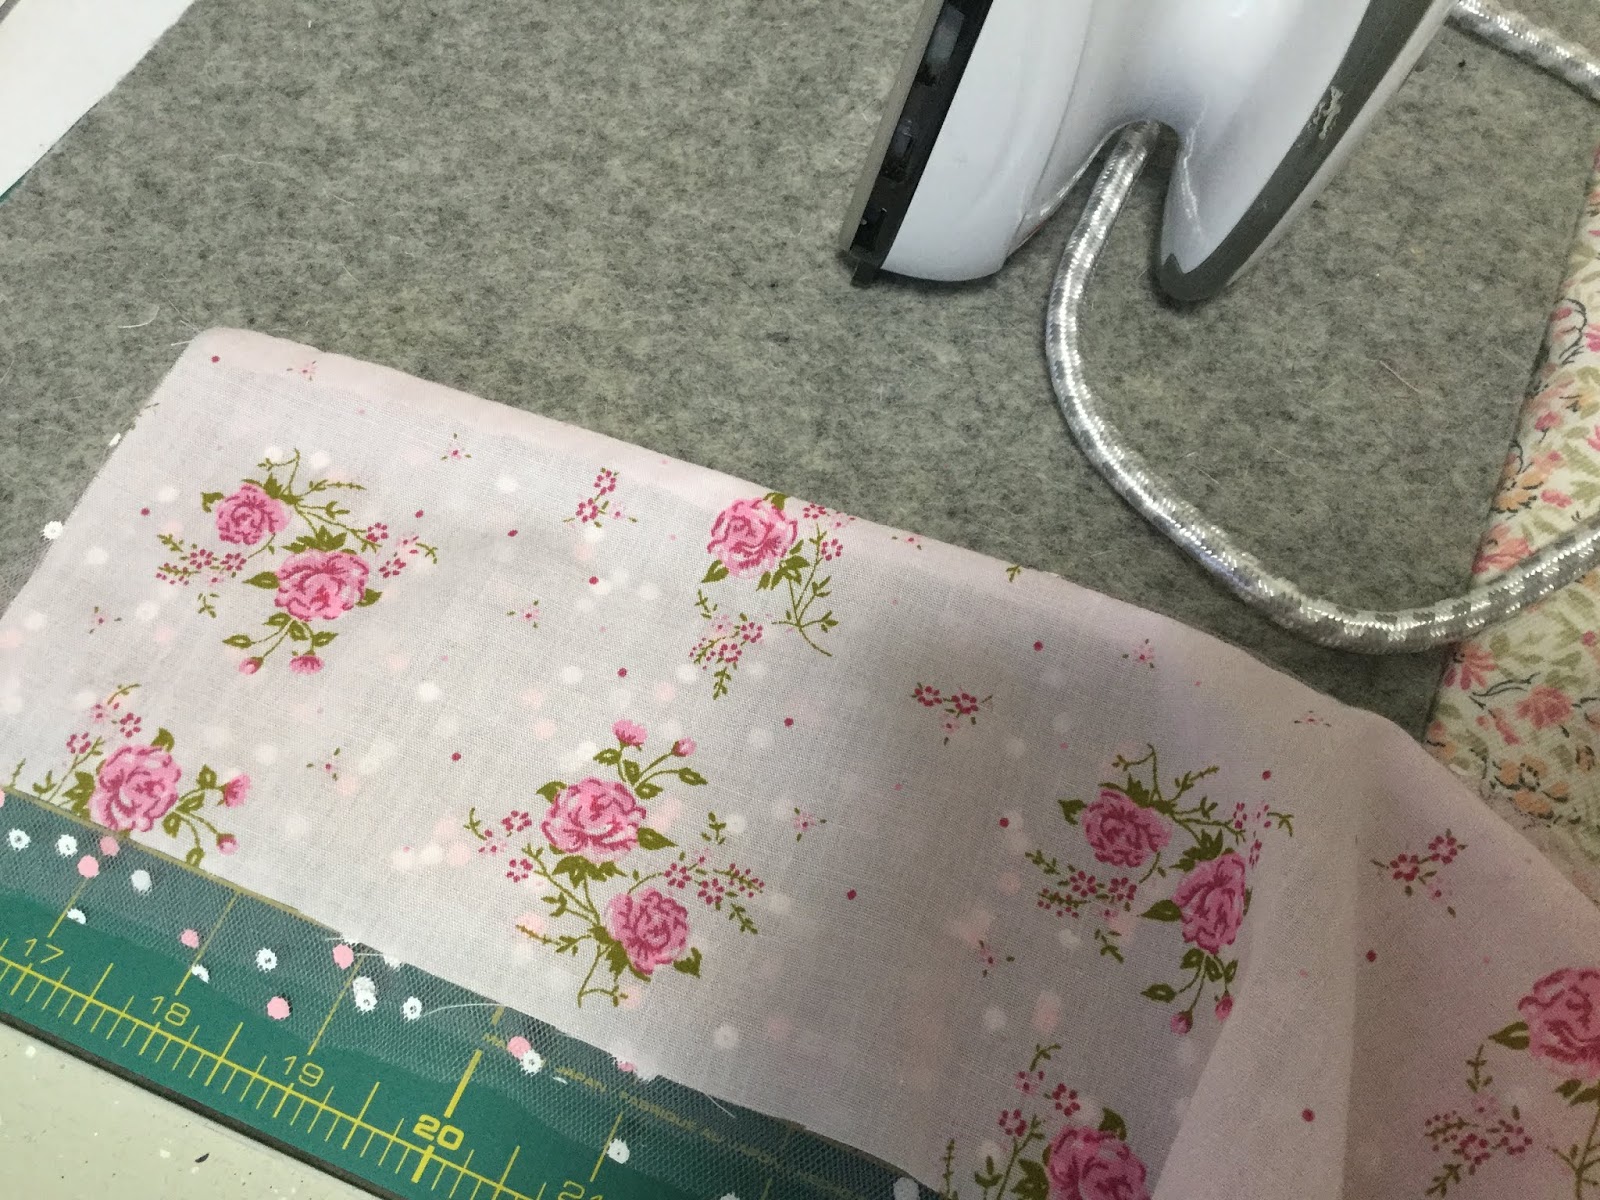
This doll is about 14" tall so I am going to use the same size skirt that I made for the Glitter Girl because that amount of width at the hem looks good on this doll too.I am cutting the skirt strip 4 1/2" x 24". I ended up using the same pattern piece that I used for the netting in this skirt HERE

If I was making the skirt for my:
- 18" dolls I would cut the skirt strip 6" x 30"
- 19" Gotz Hannah doll I would cut 6" x 30"
- 20" Australian Girl Doll I would cut 6 1/2" x 30"
This allows for a waist seam of a good 1/4" and a hem of a good 1/4".
I say 'good' because I find that you always need a bit more to cover the gathering threads and you always cut a fraction off when you overlock the hem edge.
 |
| Skirt Pieces |
Overlock the back facing edges.
Overlock the hem edge and turn up a 1/4" hem.
Press in the back facing about a 1/2".

The waist band
Just remember that the thicker your fabric the longer the waist band needs to be.
My waist band will enclose the waist seam and overlap by 1/2" at the centre back.
This means I need to measure the doll's waist then add 1/2" for the overlap as well as another 3/4" for the seams on each end. I say 3/4" because it always seems to work out as a bit more than a 1/4" overhang at the backs when you pin on the waist band. If you want the skirt to go over a blouse or T-shirt you should measure the doll's waist over the blouse or shirt or add an extra 1/8" on a small doll and closer to 1/4" for big dolls.
The vintage doll waist is a bit less than 8 1/2" so I am going to use 8 1/2" + 1/2" +3/4" = 9 3/4 for my waist band strip.

Because the doll is small I will use a 3/8" finished width for my waist band. For bigger dolls I would use 1/2" finished width. If your fabric is thicker than light cotton or polycotton you should allow an extra 1/4" for folding the seams into the waist band.
Press in a 1/4" on one long side of the waist band.
Pin the right side of the waist band to the wrong side of the skirt.
Keep the back facings folded in and extend the ends of the waist band 1/4" past the skirt backs.

Stitch then trim the seam a bit. Press the waist band up towards the seam.
Fold in the ends of the waist band then....
Fold the turned under edge to the front and stitch it down. I use a small patch of hook and loop at the waist in the back.
I now have a skirt pattern I like for this doll. I will be making the outfit skirt next.

If you are looking for patterns for various skirts for various sized dolls you should look out for my Pattern Club opening soon.
New Pattern Club Coming Soon
I am starting up a membership site in the next few months. I already have a few patterns in place and I have 3 great new patterns lined up for the first month's instalment. I will be opening the enrolment for 10 days only. Founding members will have the lowest price of $10USD/month. Every six months over a couple of years I will be opening membership with an increased price. The final subscription fee for a huge pattern resource and continuing new additions will be around $20USD
If you don't want to miss out on the sign up period click the link below and leave your email address. (This is a separate list from my newsletter)
Sign up to be notified when the Valspierssews Pattern Club is open to join
I will still be adding free resources to my Resource Library at dolldressmaking.teachable.com
If you are not already signed up you should check it out.
Happy Doll Dressmaking,
Val