Showing posts with label New pattern. Show all posts

Saturday, April 20, 2024

A new design for the 18" Doll

My latest design is well under way. 


I was thinking about retiring my doll designs blog but I have realised it will be a good place to journal about my doll clothes designs and at the same time record my progress.

I have set a goal to create 5 designs in 3 months or each quarter. I have worked out that I can fit in 20hrs a month to work on designing doll clothes. That is 1hr in the evening for 20 days and the other 10 days is part of my rest and rejuvinate time around the last quarter and new moon. I will only design if I particularly feel like it.

If you would like to read more about how I fit everything that I want to do in my life you should subscribe to my weekly substack newsletter. The content is free with the downloads for paid subscribers. This dress pattern will be offered in the last newsletter of April 2024. When you pay to subscribe you get access to all previous downloads in the newsletter archive.

Subscribe now

Happy Doll Dressmaking,

Val


Friday, March 8, 2019

New T-shirt Doll Clothes pattern for the 18" Boy Doll

Boy Doll clothes T-shirt doll clothes pattern for 18" dolls by valspierssews. Fits popular 18" dolls like American Girl Doll

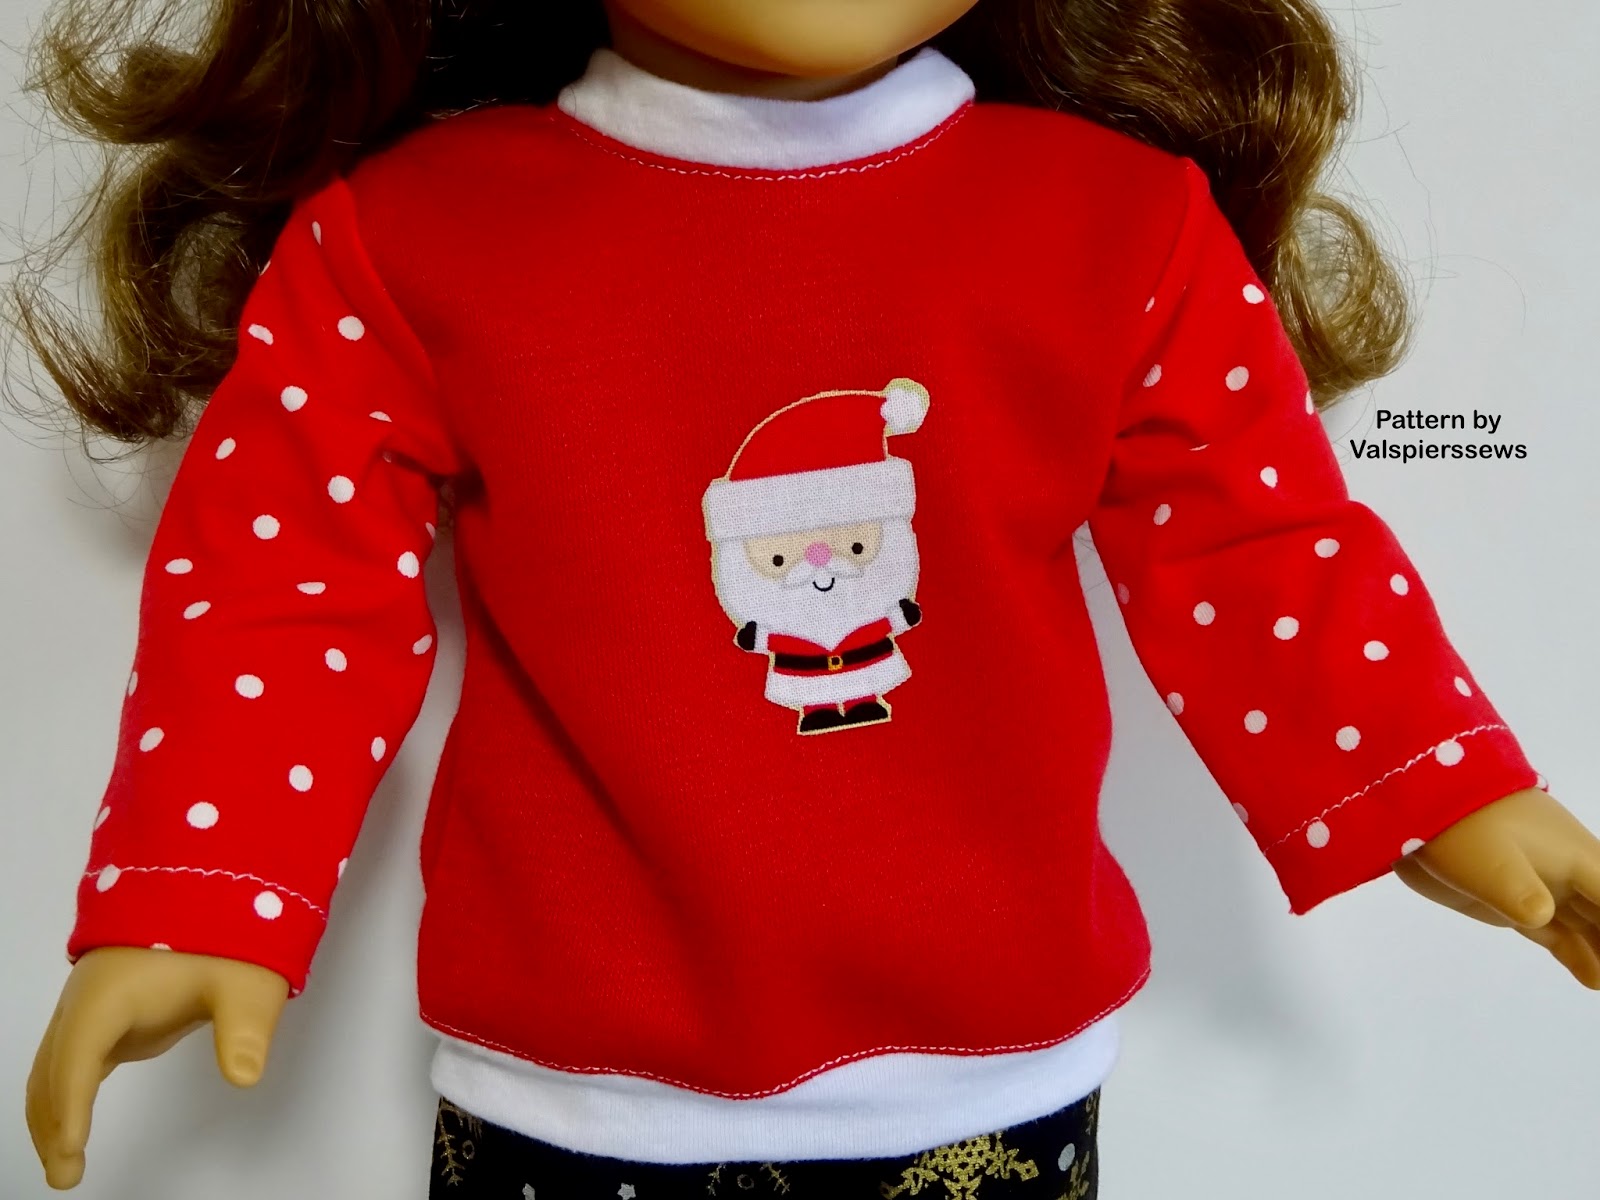
Since discontinuing 1801 knit pattern to do a revamp of how it was presented, I have been doing bit on and off. I sat down finally and finished the t-shirt pattern for the boy.

It has a slightly wider neck than the girl t-shirt so it looks a bit more manly.
It has a slightly wider neck band so it looks bigger in general.
I made the armscye straighter as well as a bit lower in the underarm. This gives a more relaxed masculine look.
I made the side seams straight and the sleeves longer.


All these small changes go together to make the boy look like a boy rather than just a boy with a girl's shirt on.

Strangely the boy shirt looks great on the girl. It gives her a more little girl look because it doesn't have all the female fashion features.

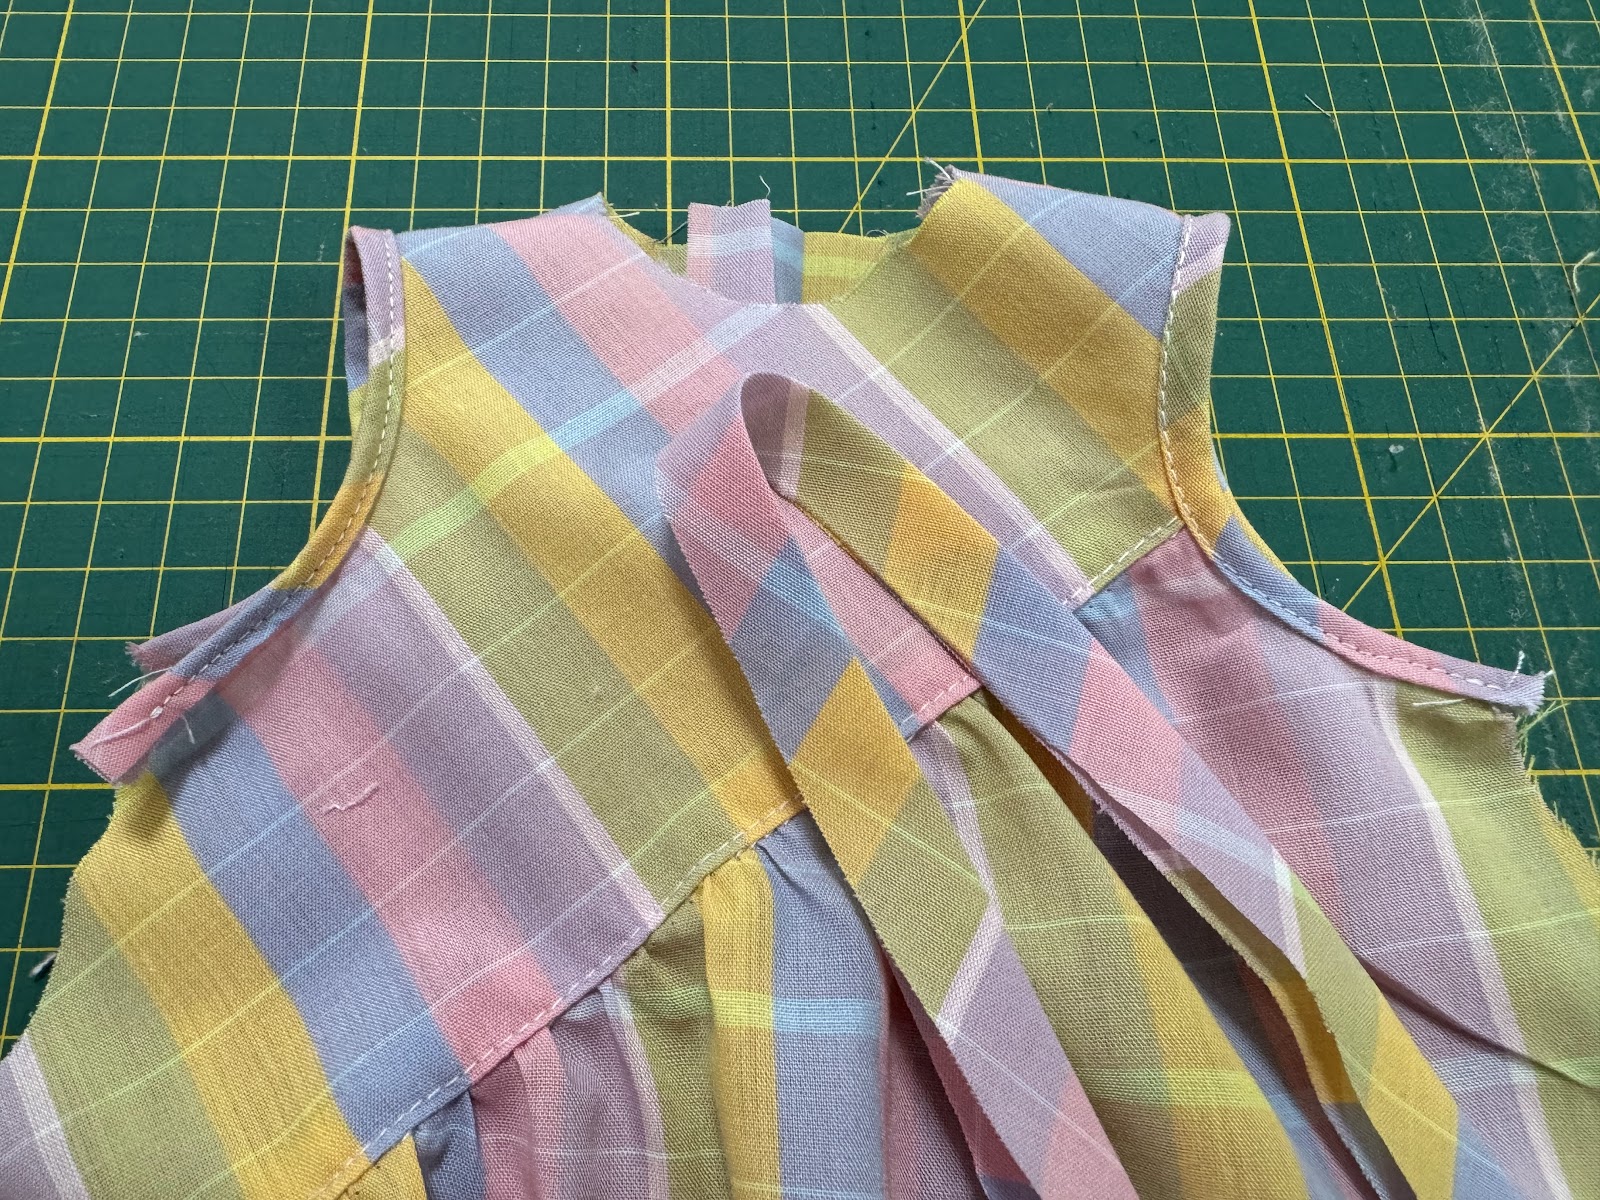
I had to make lots of samples to get the look just right.


Get the pattern in my Etsy shop or my Australian shop (GST free for Australian and NZ Customers for 2019).

I intend to offer at least 2 more designs using the same front and back pieces. They will have long sleeves, a faux turtleneck, a v-neck, shorter bodice and longer bottom band to create a sweater vest, also bands and a lower neck line for a tank top.

I wanted to make this 1874 classic knits collection for the boys as affordable and comprehensive as possible and I will do the same with the revamped 1801 for the girls.
Once the basics are published I will have great fun making up lots of ways to create new designs from the classic shapes.
Some of these will be free and some will become retail fashion files.

If you have the old 1801 you will need to print out the back and front and cut out on the slim fit lines. Use the ribbing band pattern pieces and the short sleeve and you will have what you need to make the 1801 Module 1 Girl T-shirt

Here is a comparison between the girl and boy T-shirts.


You can find the 1801 Girl T-shirt with these links too.


If you love my patterns please pin the image at the top of the blog post.
If you love my patterns why not sign up for my newsletter. See the link at the top on the side bar.

Happy Doll Dressmaking,
Val


Thursday, March 29, 2018

Spring Dress for my 18" Doll

valspierssews


I was really happy with the concept of this spring dress. After I made the Easter dress I realised I needed a few changes to the design. The fit was perfect because I used pattern pieces from other Snugfit Range patterns. I have designed them specially to be swapped around so you can create favourite designs you see for little girls or easily create your own custom designs.

Based on the things I noticed with the Easter dress I have;


  1. Used the narrow peter pan collar from 1804
  2. Used a floral pattern without an obvious design that will be affected when I pleat it
  3. Made the growth pleats 1/2"
  4. Made them look closer together (by making them wider)
  5. Made the ties from a strip that I folded in half.
  • One more thing I did was go back to the narrower sleeve band that is in the 1810 pattern. I just think it looks a bit daintier than the wider band I created for the Easter dress.

I have to admit I would call myself awkward when it comes to trims.
With lace I have trouble choosing the right sort and deciding where to put it.
With braid I have trouble with scale and colour.
I consider myself great with buttons and pretty OK with ribbon so I use buttons a lot and ribbon bows at the neck or ribbon stripes.

The growth pleats don't show up in the photo very well.
They look nice in real life.

The only thing I think I could have done different on this dress is to have used a narrower rick rack around the collar so it would sit better.


I love the improvements I made  and think I will be doing more designs with that sleeve. There are a few more things I can try with that particular shape. 


If you like this dress design you can make it for yourself following the instructions I will post in a few days. I just need to get the Fashion File kit ready for the shop. The kit is a great way to file the design in your collection but the DIY version is a great way to get a new design for free if you already have 1810 and 1804. You can buy these two patterns in my shop.

Happy Sewing,
Val

P.S.
In the post with the instructions I will include free skirt pattern pieces with the growth pleats. I am experimenting with some automatic emails and signing up to get the free things I offer on my blog. Each free file leads to its own mailing list so even if you already get my newsletter you will need to sign up to get the free file offered on any of my blogs of late. When I do something else with the pattern related to the free file I will send out an email to that particular list. 

As I work on the automated emails there will end up being 3 or 4 emails after you get the free file suggesting new ideas or suitable patterns to combine with it and the like. As usual, you are free to unsubscribe at any time.

I love designing these marketing actions almost as much as designing the doll clothes. It certainly works the mind.

Cheers,
Val

Thursday, October 19, 2017

Sewing Knits, My New Easy T and Some Fashion Ideas

Doll clothes patterns by valspierssews

Doll clothes patterns by valspierssews

Hi everyone,
I am having a great time playing with my Easy-T design. It doesn't have a number yet. It is just in the drafting folder with a few other ideas.

It is a continuation of my obsession with the kimono sleeve and drop shoulder. The jacket is in the drafting folder along with a shaped dress and an a-line dress.


So the t-shirt has the drop shoulders which is a very flattering style for the dolls.
This pattern will have lots of features.

  • Hemmed neck and sleeves
  • Neck and sleeves with ribbing
  • Straight hem
  • Hi-lo hem
  • Draped hem
  • and I am going to try it with bias on the neck and folded to the wrong side.
  • So far I can see that there will need to be an extra 1" added to the bottom hem to make it great for the 20" Aussie Girl Doll too.

You must try sewing with knits.
They look so good for modern outfits.

How do I sew with knits?
  • Use a stretch or jersey needle
  • Use a very narrow zigzag for the seams
  • If you don't want the neck or hem to stretch then you need to hem them with a straight stitch
  • Straight stitch works for the back facings and the sleeve hems too

  • When I sew on a band I use the narrow zigzag.
  • To get the band right, pin it at one end of the garment and stretch it quite firmly past the neck, sleeve or bottom. Use a finger to mark where the garment edge touches the band then pin it in place.
I had to stretch the band quite a lot to get it to gather the thicker red fabric.

  • Bands fit depends on the strength of the garment fabric and the band fabric. The band has to be able to gather up the garment. The easier it is to stretch the band the more you will have to stretch it to make it gather up the garment.
  • Don't bother finishing off edges or seam allowances. 
  • Pressing as you go is great, even on difficult to press knits
  • I am going to try the bias facing at the neck. I think this will be good for very stretch knits

The Santa sweatshirt with the black shorts is a bit of a modern take on the Christmas outfit. It looks cute bit not too old fashioned. The Santa is a motive I cut from some fabric I had with various motives for Christmas. I just put an oval of fusible applique paper on to cover the motive then cut around close to the Santa and ironed him on.


I'm still working on some stockings and a beanie. Once they are done I will post a bit more about what I did.


I used the 1820 Bulky Knit sweater for the jumper but I had to lengthen the sleeves because they have no cuffs and I made the knee shorts length as boxers from 1813.
I know, we haven't even got past Halloween and I am onto Christmas. 

Looking for a quick fix for halloween? Sign up for my Newsletter to get some applique letters to add BOO to a t-shirt. Perfect size and perfect placement. I have done all the experimenting so all you have to do is pop the letters on an existing t-shirt  or sweatshirt and your doll will be set for Halloween.

Happy Sewing,
Val