I love sewing 18" doll clothes. It seemed a natural progression to start designing them too. You can read all about my life journey on valspiers.substack.com
This blog post is all about how to sew the paper bag shorts design. If you have a basic pattern for pull-on pants or the 1813 Gathered Pull-ons from my Etsy shop then you can follow the steps in my You Tube video on how to hack your basic pattern to create the paper bag shorts pattern.
Show and Tell
I love looking through Pinterest for different fashion ideas for basic designs.
I saw these shorts and loved the little bit above the elastic casing. It's pretty and fashionable and easy to do. I haven't copied them exactly but you could if you wanted to. Perhaps use 1/2" elastic and make adjustments to your pattern hack.
Rather than tie the bow each time you can make a bow and stitch it in place.
Part 1: The Pattern
Create you new pattern pieces using the video instructions or you can just buy this hacked piece from my shop this time. Future hacks will be on you tube only.
Part 2: Fabric and cutting out
Use quilting cotton or lawn or linen for a neat, crisp look.
Cut out your fabric pieces. Keep track of the backs by marking them with pins.
Mark where the casing fold line goes with a pencil mark on each side of the two fabric pieces.
Mark it on the right side just inside the seam allowance so it won't show after sewing.
Part 3: Casing
Press over the waist edge along the casing fold line on each fabric piece. Finish the top edge by turning it under 1/4" or by overlocking it.
Pin the centre front edges together and stitch.
You can take out the marker pins in the backs. Pink the front seam allowance.
Press the seam to the left.
Fold over the casing and pin it in place.
Stitch close to the open edge.
You need 3/8" for the casing width. I measured the 3/8" and had 1/2" left for the top ruffle edge. I stitched the second casing line 1/2" from the fold. I suggest measuring to make sure your casing will be 3/8" wide because your distance from the fold might vary slightly depending on your accuracy when folding and your fabric.
Part 4: Leg Hems
Do the 1/4" hems along each leg edge.
I decided to do a narrow double fold hem.
Make the first fold as narrow as you can (about 1/8").
Press the second fold using the edge of the first fold as a guide. Hem accuracy is not crucial.
Stitch close to the open edge so you make sure you secure the first fold as well.
Part 5: Elastic
Because my centre front seam is pressed to the left I will be threading my elastic from right to left with the wrong side up. (I hate trying to thread elastic over seams that face the wrong way.)
Measure 10 1/2" of 1/4" elastic.
Use a safety pin to thread your elastic.
When the end of the elastic is level with the right hand side stitch across it, forwards, backwards, forwards. I don't bother to do a double stitch at the beginning or end.
Keep threading. When the end of the elastic is level with the left hand side pin it in place about 2" from the end. Remove the safety pin and stitch this end the same as the first. Remove the pin.
Part 6: Belt loops
Cut a rectangle of fabric 2" x 4 1/2". This should give you just enough for 4 loops.
Fold the belt loop strip wrong sides together and stitch.
Pink the seam allowance.
Manipulate the belt loop strip so the seam sits down the centre. Press the seam open.
Rather than separate the loops I did each one and cut off the remainder of the strip.
Place pin markers 3/4" from the centre front seam.
Make a small mark 1/4" from one end of the belt loop strip, on the wrong side.
Lay the belt loop strip right side down so the length of the strip extends up past the waist and the small mark sits just above the upper stitching line of the casing.
Line up the side edge with the pin marker and pin the strip in place.
Stitch the belt loop on, just above the casing stitching line.
Trim off a fraction of the belt loop seam allowance with pinking shears.
Fold the loop strip down. Measure 3/4" along the strip and mark with a pin.
Trim off the excess belt loop strip with pinking shears, just so the cut skims below the pin.
Turn under the end and adjust it so the fold sits a fraction below the lower stitching line of the casing.
Stitch it in place just below the lower stitching line of the casing.
You need to stitch the loop just above and below the casing stitching lines so you can fit the 3/8" belt ribbon through the loops.
Use the same method to attach the other front loop.
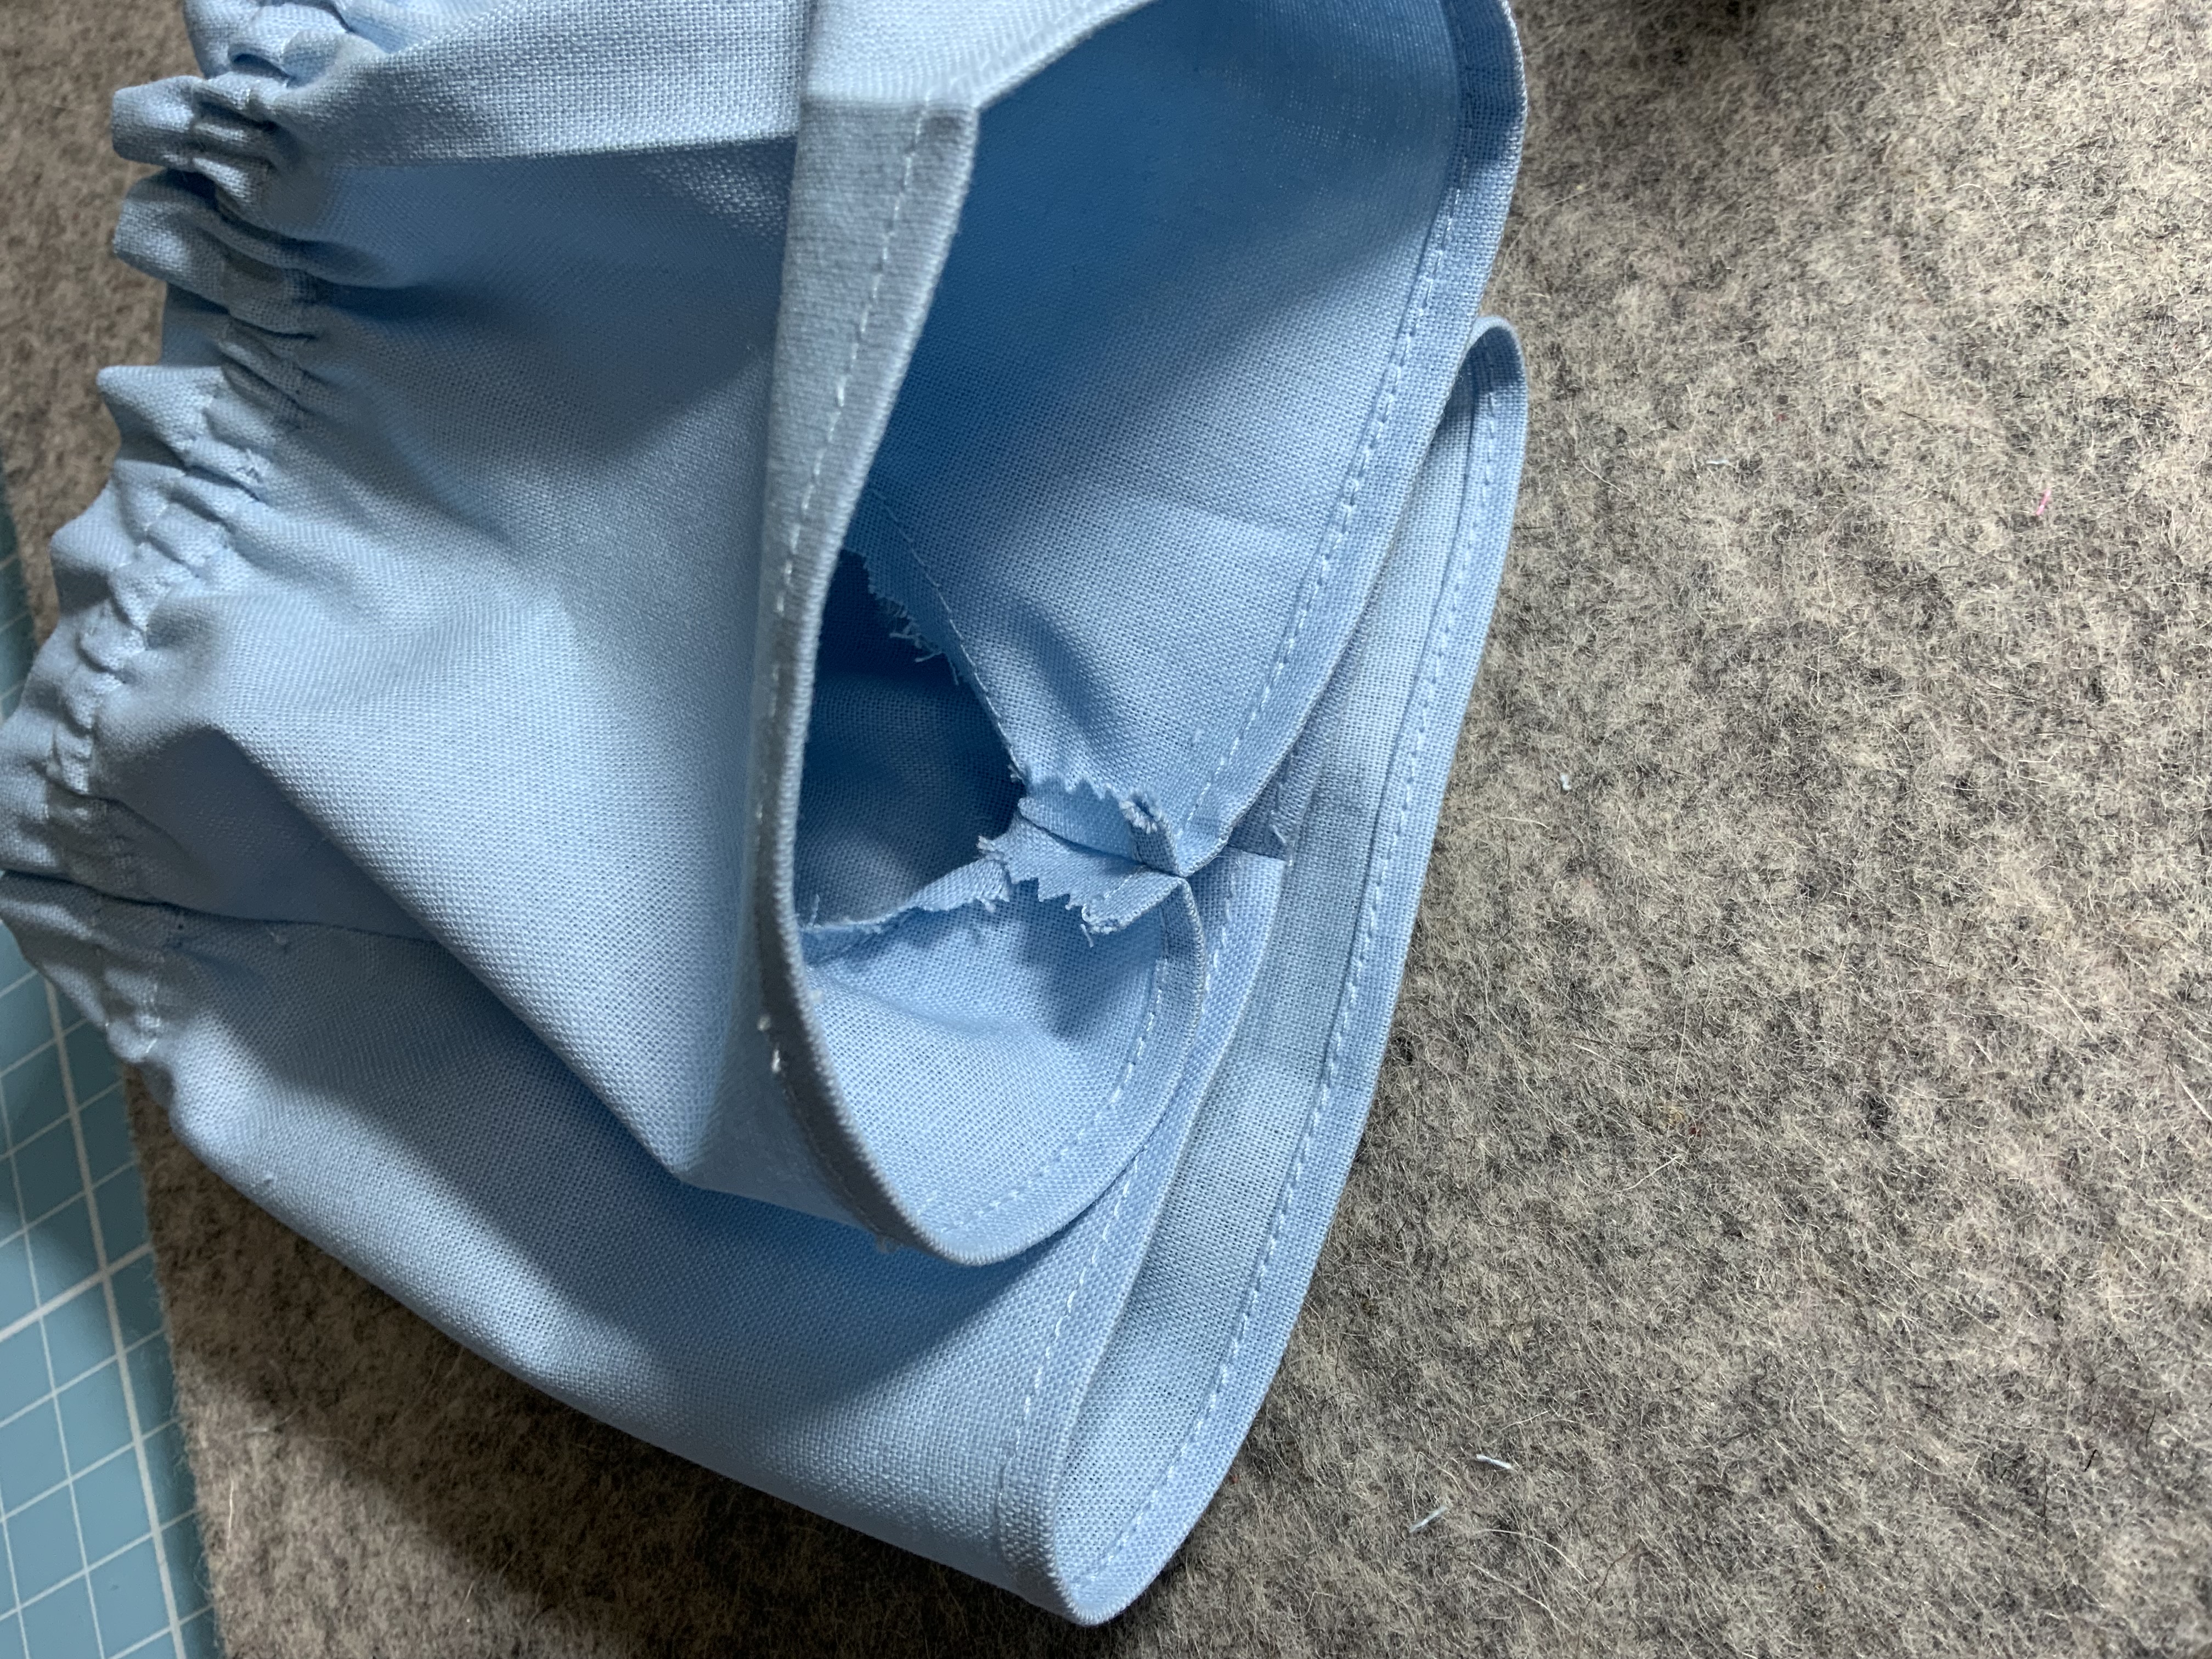
Since making the shorts I have come to the conclusion that it would be easier to add the belt loops before stitching the centre back seam. I found it awkward to fit the waist under the needle with the back seam sewn.
This photo shows the back seam stitched up. The back belt loops are a bit further from the centre than the front loops. Without the back seam stitched you will need to put your marker pins 1 1/4" from the raw edge of the centre back.
Create the back loops in the same manner as the front loops.
Part 7: Finishing the Seams
Stitch the back seam. Pink the seam allowance and press it open.
Stitch the crotch seam. Pink the seam allowance and press it open.
Part 8: The Belt
Cut 24" of 3/8" ribbon for the belt.
Fold over 3/4" on each end and stitch. Pink the end if you think it needs it.
I did a big fold over and left a distance between the stitching and the end because it is fiddly to sew across the ribbon and it can fray through the stitching sometimes.
You have to undo the belt to put the shorts on and off. This means tying and untying the ribbon.
I did a different version with the belt just in the front. You can find the photo tutorial here (soon).
You can find the hacked pattern piece in the shop here is you don't want to do the hack yourself.
I have been threatening to create a pattern from the pieced pants fashion file for ages. I started drawing up the pieces but it was almost harder to draft them on the computer than it was to just cut up the pattern pieces from 1813 Gathered Pull-ons.
Now I have created pattern pieces for each section with the seam allowance included and I have written complete instructions to finish the trousers. I made a slight change to the waist by lowering it about 3/8". They reach to just under the doll tag on 18" American Girl dolls.
This design is for sale in my shop but adventurous designers will be able to see how easy it is to create it themselves from any pull-on pants pattern.
I first put this pattern together in 2015. Being only no.13 it is one of my first patterns. The instruction format has changed dramatically since I first published it.
I started out doing instructions that were only meant to be read on the screen. They looked like this...
Then I changed to diagrams and instructions that could easily be printed but my sewing steps were still a bit unskilled I suppose. I was trying things that were not the best way for doll clothes.
The instructions looked like this...
My latest patterns and some of the ones I have updated are now much easier to read and understand. I have also refined how I do hems and side seams, elastic casings and facings and hems for skirts and dresses.
I have worked out that many of the people sewing methods that are important for how large people sized garments look and drape are of no importance when it comes to small doll clothes.
The latest update for 1813 instructions looks like this...
I have clarified the separate views, I have enlarged the headings and included more steps in the instructions. I have also resized the pattern envelope so you can now just fold the instructions in half and slip them in the envelope.
While doing all this I have not found it necessary to change the shape of the pattern pieces for 1813. My first design is still good and fits great and has lots of options so you don't have to experiment with lengths of different shorts or trousers.
You get the neat trousers and shorts as well as the well gathered boxer style for pyjamas or cute shorts or even track pants.
They fall just on the waist
The boxers are great for cuteness
You get different casing styles as well.
The bias casing looks different.
And to top it all off I have already put together a fashion file for pieced pants that you can easily copy without buying more patterns. I have several other fashion file variations on the drawing board too.
A photo from the FF5 blog post
It may sound a bit too good to be true but I started out with a mission to provide versatile patterns at a great price and that its what I am still doing.
One day I may get into creating more complex or specialised designs, but for now I just enjoy making cute doll clothes and patterns to inspire others to make doll clothes. I can't help rapidly adding new designs to my shop. It is like an obsession to keep creating.
I have learnt that maybe my designing and drafting skills are a bit more advanced than some of my followers - I have been practicing designing and drafting and sewing doll clothes nearly every day for 4 years now - so I have started to write up some of my fashion files as published patterns in my shop to make the designs available to everybody.
Look out for my update on the pieced pants from FF5. The blog post from 2017 is HERE if you want to draft them yourself.
If you want to follow along on my fantastic journey of doll dress making and tailoring you should sign up for my newsletter.I have offers for free patterns and links to my blog posts as well as special offers in my shop and news about any updates I do. I also add a few bits about me and my life and other things I like to do.
If you can't wait for the newsletter you can usually find out what I am doing if you Like my Facebook page.
This sleeveless roll neck top is made using 1801. It is perfect for spring or autumn and looks great under a jacket or coat or cardigan for winter.
I have been working steadily on my E-book. Not settled on the title yet but it will be about creating a 4 season wardrobe for your doll from several patterns. It will include what steps to take for choosing fabrics and colours as well as outfit ideas using all the pieces. I'm really excited about this. I just need to make all the items.
I will probably launch it through my newsletter first and add a special offer. Look out for my first
E-Book in the next few months.
I am also working on the first draft of the school dress collection. This is the first design. It looks pretty cute so far but already I am drafting some changes. The collar needs to be a bit narrower and I didn't quite nail the tuck in the bodice. I will be changing it just a bit.
Over the years I haven't quite managed to get the Australian Girl Doll summer items out at the same time as I publish the American Girl Doll winter items. I tend to just make whatever I feel like. If there is some garment that you have always been wanting to make for either doll just let me know and I will have a go at drafting a pattern.
The ski pyjamas that I blogged about more than 2 years ago still look really cute and are quite easy to make using 1801 and 1813. I have just put together a Fashion File for the ski pyjamas that I will publish as soon as I make another set for photos. The Retail Fashion Files that I publish have all the pattern pieces you need so you don't have to go looking through your pattern collection and you don't have to do any alterations. I do it all for you.