I posted once before that I use sticky tape to hold my buttons in place while I sew them on with the sewing machine but I didn't go through the process. It is not hard, but maybe a few simple steps will encourage someone else to give it a go and save themselves time and effort - important commodities these days.
1. Sticky tape the first button in place. Depending on the garment I will sometimes tape on all the buttons then just move from button to button starting and finishing each button. I then clip the threads and remove the sticky tape.
2. Attach your button foot.
3. Put the button under and lower the presser foot.
4. Adjust the stitch length to zero.
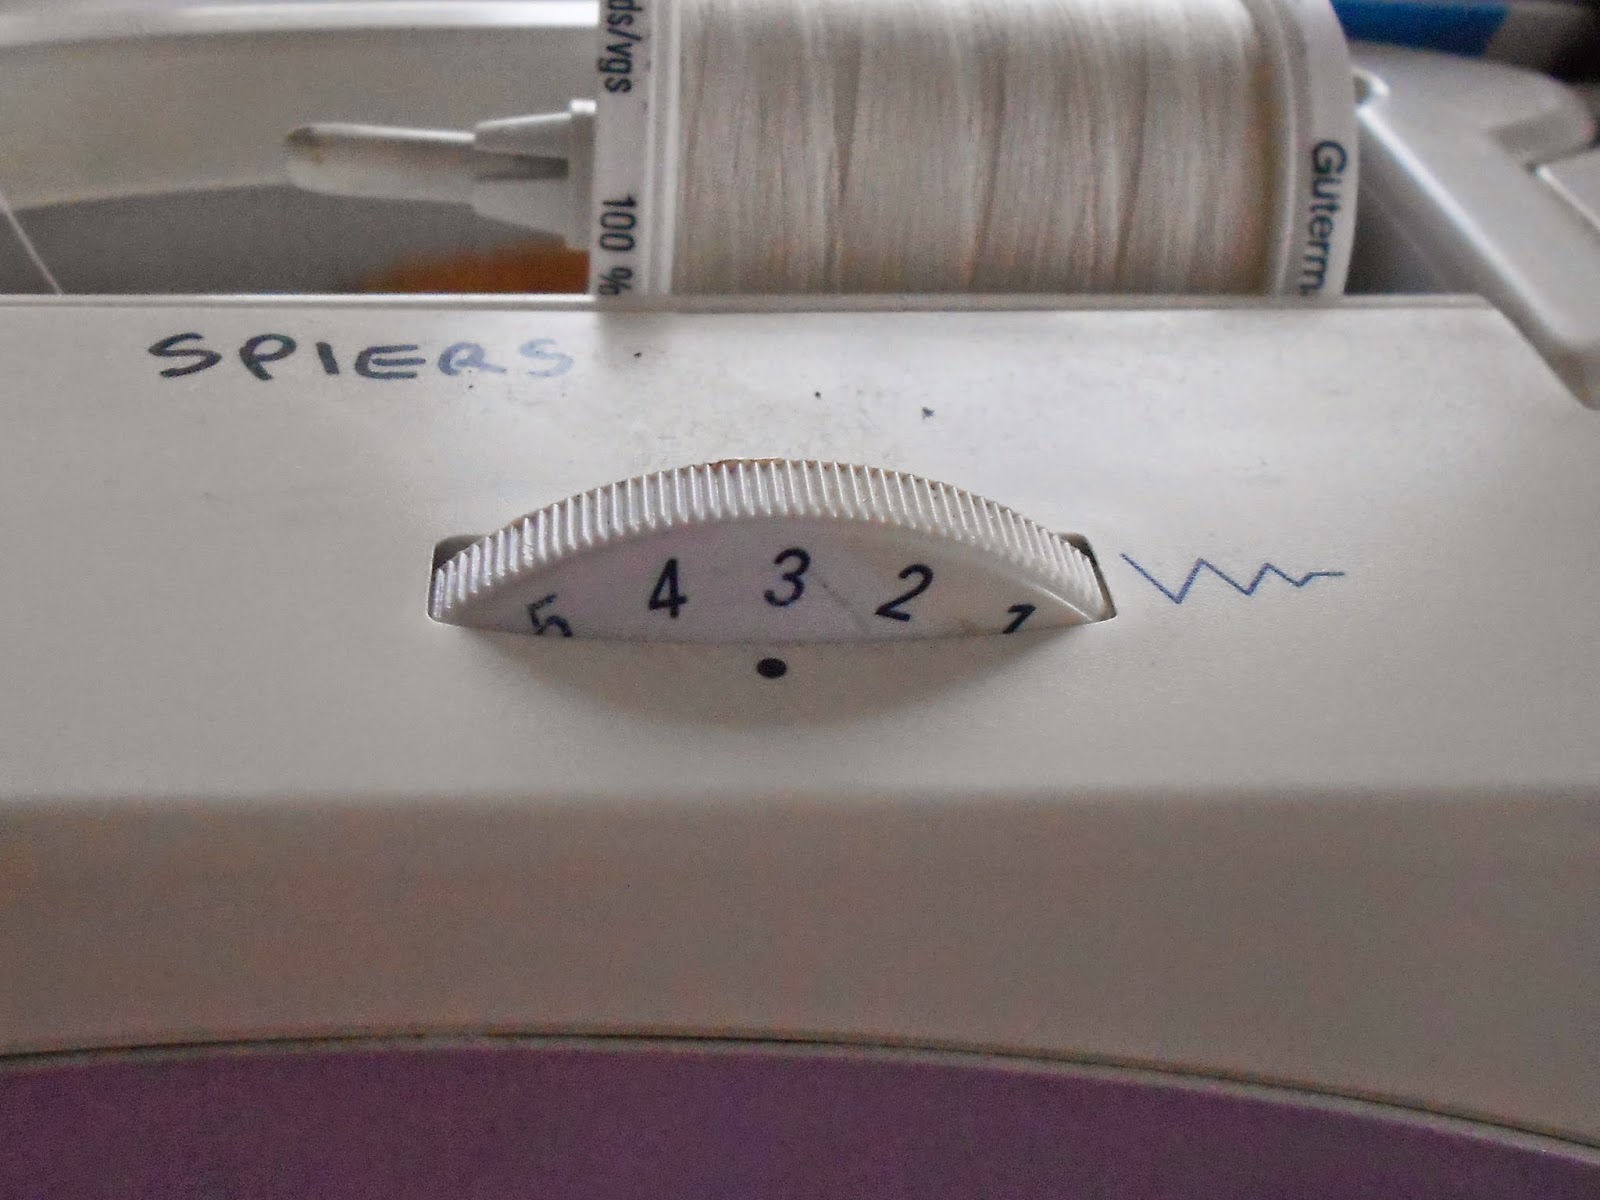
5. On straight stitch mode adjust the stitch width so the needle goes into the left hand hole cleanly. Make about 4 stitches into the left hand hole.
6. Lift the presser foot and change the mode to zig zag.
7. Turn the crank by hand to check that the needled goes into both holes cleanly.
Stitch about 8 zig zags finishing with the needle about to go into the left hand hole.
9. Sticky tape the next button in place. The process should go a bit quicker this time since the stitch width probably won't need changing.
10. When doing three buttons I stitch on the top and bottom ones first then place the middle one by eye.
This is the latest pattern I am working on. It works as a vest, a button up dress, a top and a pinny. This one is the pinny version. It is amazing what a little bit of embellishment can do to liven up your doll clothes. I had the contrast band around the hemline planned but the buttons were just something I found in my stash and realised they would work perfectly. I even forgot to change the thread to blue to match the buttons and they still look good.
Keep that button foot handy.
Cheers,
Val


No comments:
Post a Comment
Note: Only a member of this blog may post a comment.