I am always learning to sew better. Some things I see on other blogs or in Threads magazine. Sometimes I just work it out myself after trying lots of ways.
Doll clothes sewing is not quite the same as people sewing though many things are similar.
Sewing the collar together for the doll dress is only part of the process.


You can download a PDF ebook of this tutorial by clicking below:
Pressing and under stitching are really important steps to make the collar fit perfectly and sit nicely.
Below is a list of the steps involved
- Make sure you trim the seams back to 1/8".
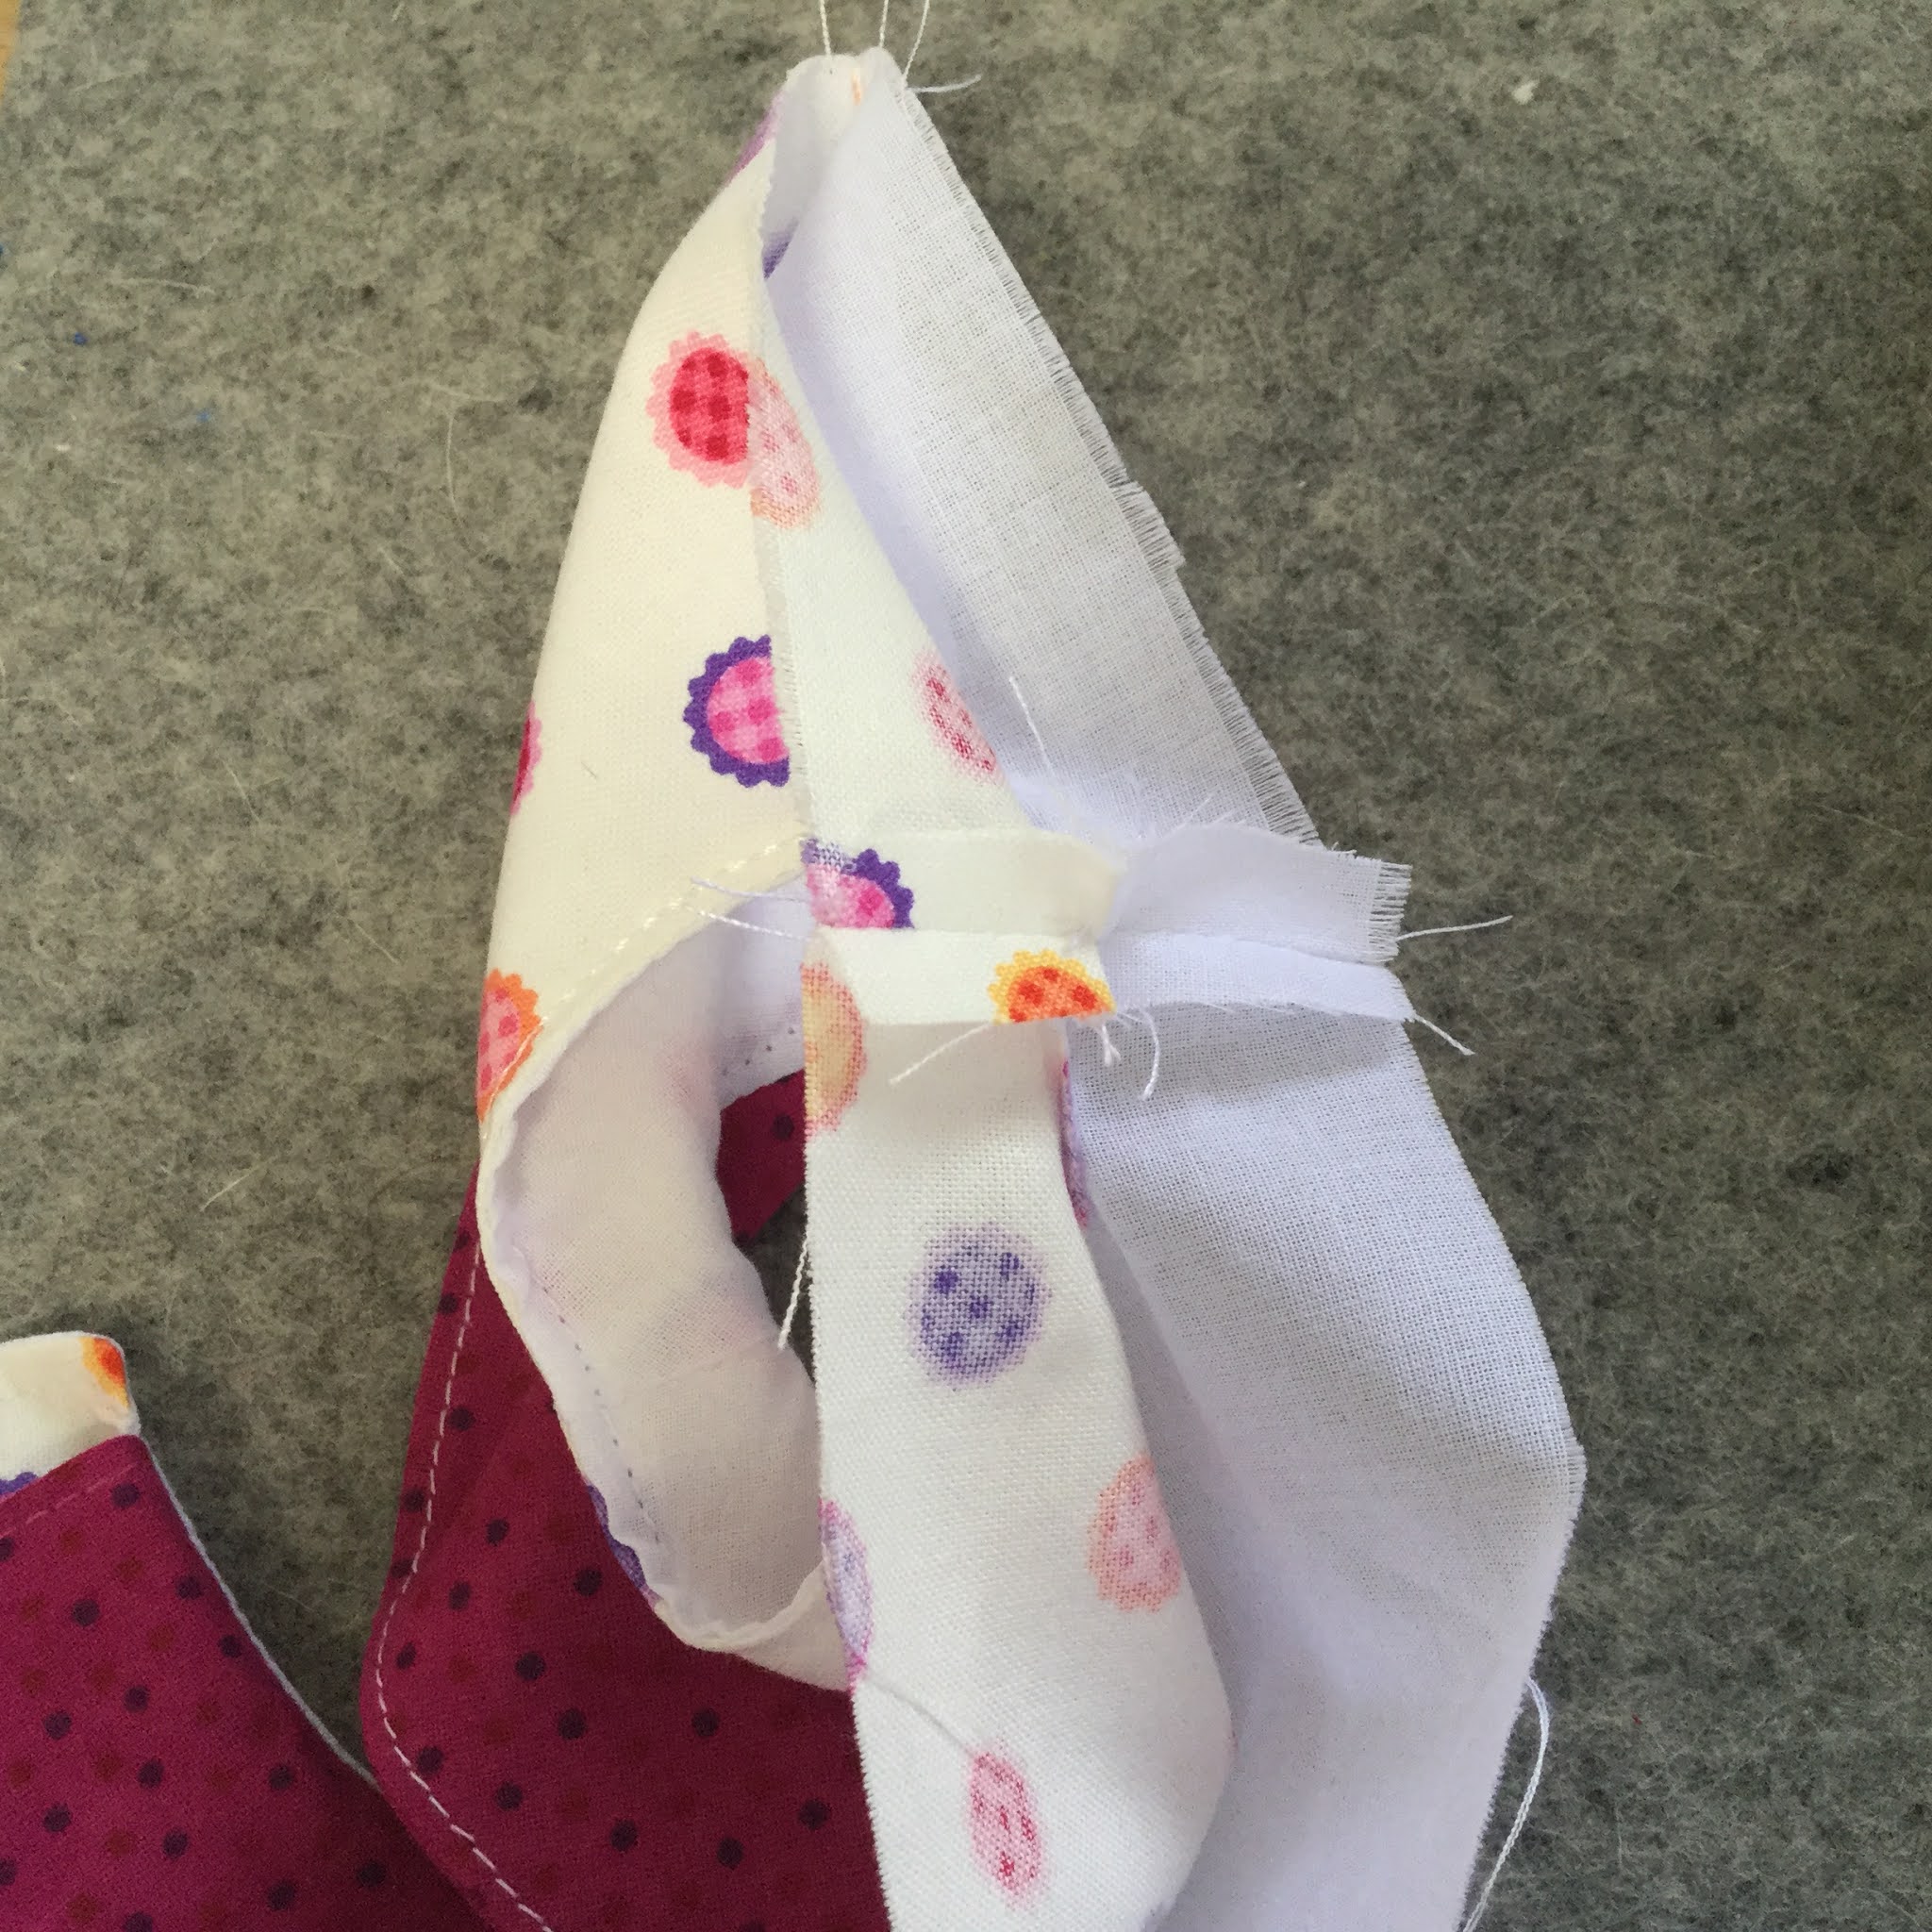
- Make sure you clip into the seam allowance around the curves of the neck and armholes - my dress has no sleeves.
- Turn the bodice and press around all the seam edges with the bodice facing up. Gently pull the collar up and get the point of the iron right up to the seam line.
- Flip it over and press it again with the lining facing up.
- Press the collar in place at the centre front.
- Slightly roll the collar and press it in place at the backs. Not all collars roll like this but I think it looks nice on the doll.
- Under stitch the collar.
Pressing the Collar after Turning the Bodice
Press with the bodice facing up

Press with the lining facing up

Press the centre front in place


Roll the back a little bit and press each back in place


Under Stitching the Collar
Lift the collar out of the way and stitch 1/8" from the neck edge on the right side.


Arm Holes and Side Seams
Below is a list of the steps
- Top stitch the armholes starting and finishing 1/4" from the under arm edges.
- Separate the bodice and the lining and print the lining side edges together and the bodice side edges together so they form a continuous seam with right sides together.
- Stitch the seam and press it open.
- Fold the bodice and lining back together.
Top stitch the arm holes

Separate the bodice and lining and bring the lining side edges together and the bodice side edges together

Pin to form a continuous seam

Stitch it and press the seam open
Fold the bodice and lining back together and press

Happy Doll Dressmaking,
Val
No comments:
Post a Comment
Note: Only a member of this blog may post a comment.