Showing posts with label sewing knits. Show all posts

Thursday, February 9, 2023

Easy and cute doll sweater for 18" dolls

 I have been doing quite a lot with knits lately.

  • Not all knits work with all knit patterns
  • Use a stretchiness guide
  • An easy to sew neck band
  • Finishing the seams
  • The Published Pattern


Valspierssews Faux Bow Sweater doll clothes

Not all knits work with all knit patterns

There are so many different variations of knit fabrics.

It's difficult to make a design that will suit a range of knits. If you don't have the right knit the pattern doesn't work the way it's supposed to.

I stumbled across this cute sweater with a stuck on bow that I just had to try to replicate for the doll.


It's from Shein. I found it on Pinterest. 

I have a lot of fun trying to make a design suitable for an 18" doll to wear. I think the one I designed for my doll looks better than the people one.


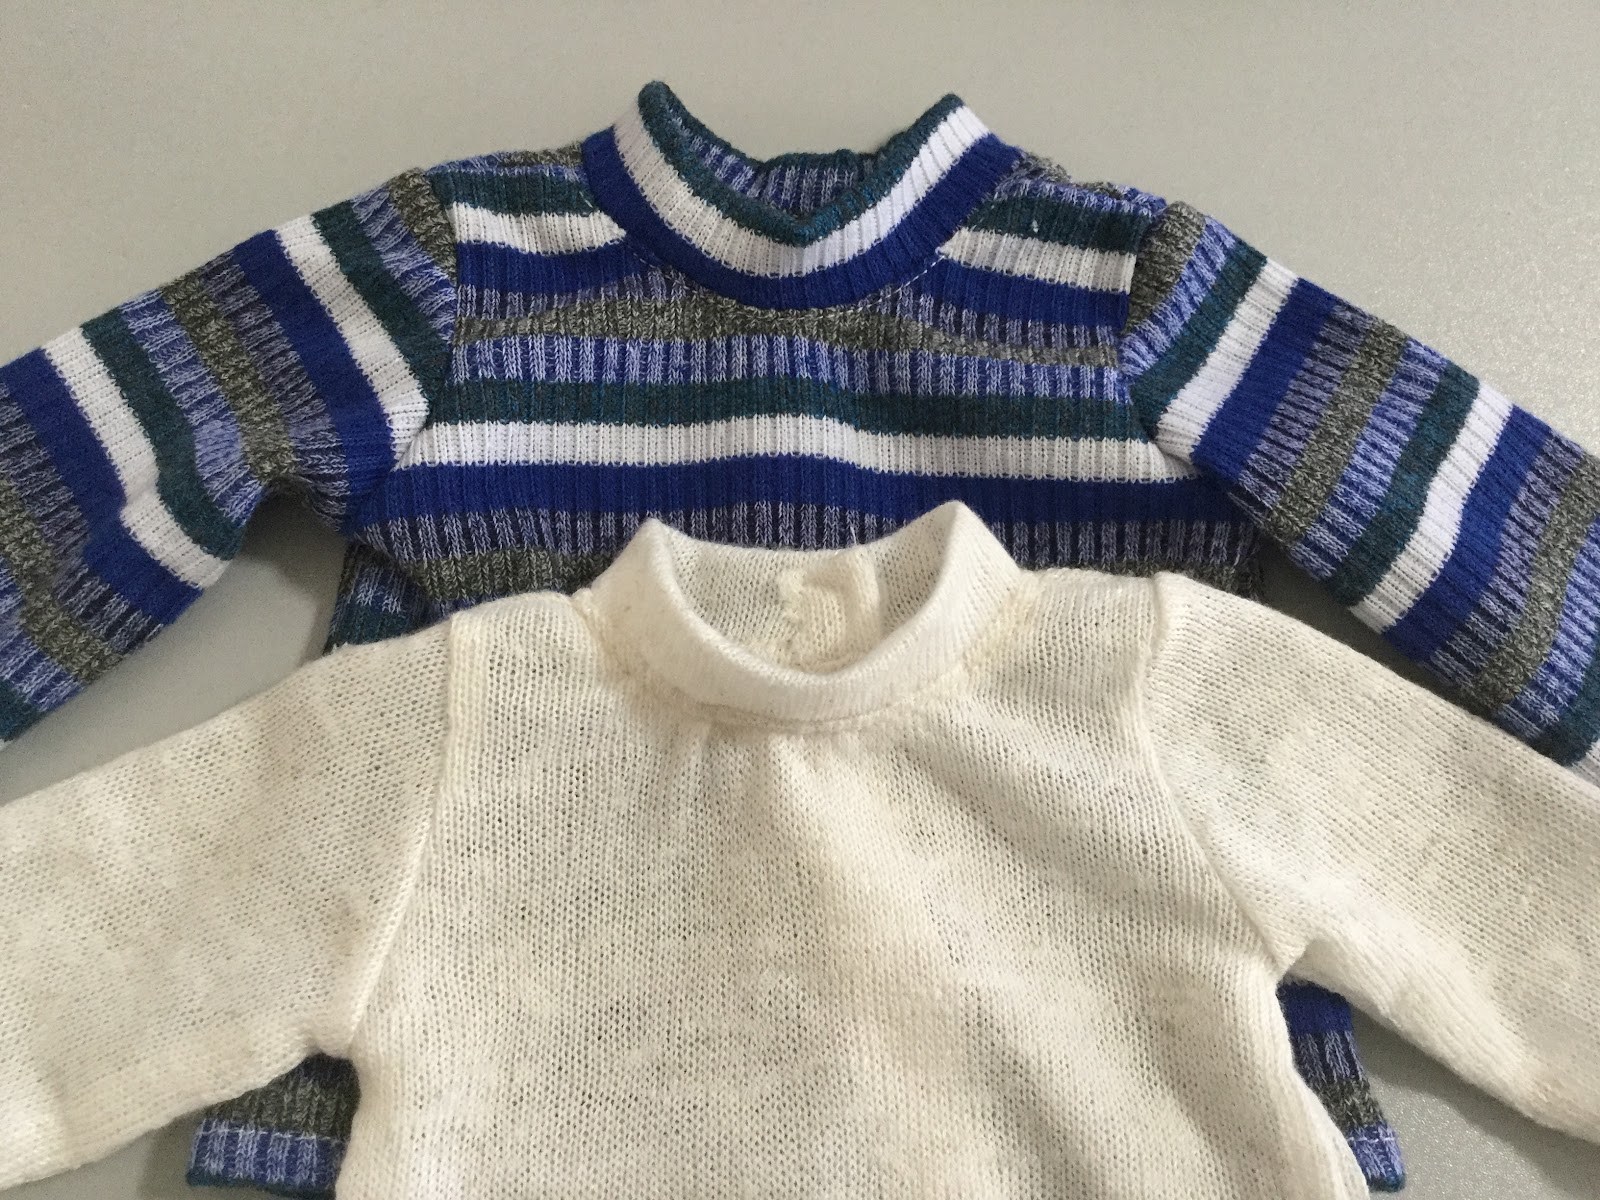
I had several knit fabrics and I wanted to try them all with this design. The white one is t-shirt knit. A nice medium weight, not too flimsy.

The pink velour one is not very stretchy so I had to adjust the cuffs and the waist band to make the strip a bit longer. After making one I decided the waist band needed to be wider to look more in proportion with the thicker knit.

I also realised that I would have to make the cuff strip the same width as the wrist edge of the sleeve so it would go over the hand.


I tried a lycra one but it was just too thin and didn't look any good with the bow.

Use a stretchiness guide


Eventually I decided I needed a knit stretchiness guide so you would be able to choose the right pattern pieces for your knit. I wanted the pattern to work with more types of knits than t-shirt knit because the pretty knits I had were all over the place. You can just use a ruler but including the guide means you don't need to search for a ruler.


An easy to sew neck band


I called this design easy because the neckband fits perfectly and doesn't cause any trouble when you stretch it out to sew on. 

The method I use is perfect for those times when you don't want to use ribbing or you just don't have  matching ribbing. It works for all stretchiness types of knits as long as they are not ribbing.
I had a bit of trouble folding the neckband over the seam allowance with this knit. In hind sight I should have trimmed off a bit of the seam allowance across the centre front where the front panel sits.
I had to go over a bit of edge where my stitching missed. When you top stitch from the right side you can't see exactly what is going on behind.


I also decided not to trim any of the neck band after top stitching because this knit seems to unravel a bit when cut on the straight edge. I don't think it will make the garment any less hardy but it does look a bit messy on the band seams.


Finishing the seams

In the past when I sewed knits I would open the seam at the wrist and stitch it flat. I am over that now. I don't think it really makes any difference to the look on the doll. I guess it looks a bit clunky on the inside of the sleeve but I don't worry too much about staring at the insides of my garments. If you make  knit tops to sell your customer would have to be pretty finicky to complain about neatness or not on the inside. As long as it is finished as best as you can.

I have even stopped overlocking my seems because it add bulk and stiffness to a garment that spoils the look.


The narrow zig zag!

The other thing I always do when I sew knits is to use a very narrow zig zag stitch for all the seams and top stitching.


My 1/4" foot has a hole in it for the needle to go through and when I set my zig zag to 1mm I find that the needle still goes through the hole so I don't have to change feet.

I have also found that using the zig zag means I don't have to change to a special knits needle. I always use my regular needle for knits. The only time I might have trouble is with the very stretch lycra style knits. The ones that stretch in every direction.

The narrow zig zag allows the garment to stretch without breaking the threads.
I don't think it would allow enough stretch for the really stretchy fabrics. Dolls don't tend to put a lot of stress on their clothes though so it may be OK.

The Published Pattern

The Faux Bow Sweater is good for both Our Generation dolls and American Girl dolls.


I published this one in February 2023. 
VIP ladies will find it in the VIP Dropbox folder.

Everyone else can find it in my shop. Each time I publish a new pattern I put it on sale for that month so always check out the sale section in my shop.
Don't forget you can get 20% off with the code SAVE2020 if you put $20 or more Australian dollars in your cart. The $20 total is before tax.

Valspierssews Faux Bow Sweater

If you don't already have the pattern for this sherpa beanie with ear flaps keep a look out in the free Doll Clothes Pattern Folder in Dropbox. I will be putting it up shortly. It will be No.35.

Happ Doll Dressmaking,
Val


Friday, December 2, 2022

Making up the knit tunic with a ribbing neckband

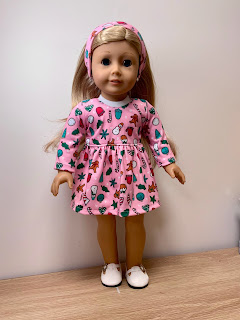
This knit tunic is a great design to quickly add something cute to your doll's wardrobe.

My fabric choice is a knit with an all over small design of Christmas cookies.

  • I bought this from Spoonflower. There are so many gorgeous prints to choose from and even at full price it is good value to get a pattern that is not in the regular shops.

I chose the cotton knit which is so soft and light. Perfect for doll clothes. It is a regular knit with knit and pearl sides but because it is so soft it doesn't curl at the cut edges enough to cause a problem.

Valspierssews 18" doll knit tunic

  • I wanted to do a ribbing neck band so I cut myself a piece of ribbing 1 1/2" wide and 3/4 the length of the neckline. About 6 3/4".

I checked that my ribbing would comfortably stretch to the full 9" before cutting it. Not all ribbings are the same.

To sew it on fold it in half and put a pin at the centre. Find the centre of the neck on the dress and pin the band and the dress right sides together matching the centres.

You need to sew on the neck band after you do the shoulder seams of the bodice

Pin the band to the back edges then stretch out the band and pin it at the quarter position on the neck edge. You may need to pin at the eighth position too.

Lightly press the band away from the bodice so the seam allowance points down.
Top stitch close to the seam line on the right side so you sew the seam allowance to the bodice.


No need to overlock seam edges.
I did use a narrow zig zag stitch and an ordinary needle for this knit.
I sewed the back facings down with a straight stitch.


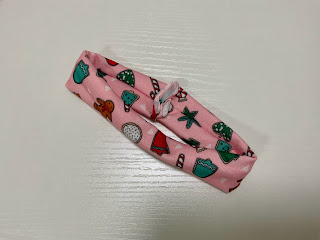
I added a head band using a scrap piece. It measures 3" x 12"
I sewed the seam with the strip right sides together then I turned it.
I centred the seam then stitched the back seam.


Back

Front


I made up the leggings with the ribbing. I probably could have taken a 1/2" or so out of the middle of the pattern piece since my ribbing is very stretchy.
Add some boots and she is ready to go.


I am a bit of a tea fanatic so I treated myself to this beautiful tea box from The Tea Centre.
I had some birthday money to spend. You can probably notice that I am a bit of a coffee fiend too.


If you want to make a knit tunic for your doll I used this pattern


You can get it from my Etsy shop here

Happy Doll Dressmaking,

Val

Wednesday, November 30, 2022

How to use woven binding on knit fabric

First draft of my cute grandpa shirt

If you are going to make cute doll clothes you need to start with a cute design.

I thought I would try a grandpa shirt. I like the placket and the little buttons. They are great additions to doll clothes.

I used my turtle neck sweater as a base pattern.

Turtleneck Pattern

I added some length to the sleeves to account for leaving off the bands and I made the bodice a bit longer.

Now what about the fabric bindings for the neck wrists and bodice hem?

My first go wasn't perfect but it still looks cute. If I was just making for my family I would be happy with this one. But I need to make things to a much higher standard when I want to sell the pattern.

The bias binding made the wrist a bit too small since it cut out most of the stretch of the knit sleeve.

valspierssews


My second go has a slightly wider sleeve at the wrist.

The neck and hem bands were just right. You just have to stretch the bias strip very gently to stop any wobbles in the knit. You want the edges with the binding to sit nice and flat rather than going wavy.

The front band is a bit narrower and a tiny bit longer. 

Valspierssews grandpa shirt


I had to work out how much bias strip to make and settle on four strips 10" long then sewn together to make one strip.


The idea was to make an outdoor top but the knit I used came from my old pyjama pants and looked like pyjamas so I made some 1813 boxer style trousers to finish the look.


I created a Fall jogging outfit with the grandpa top, leggings and boxer shorts.


You can get the grandpa shirt pattern in my shop.
Happy Doll Dressmaking,

Val


Sunday, August 15, 2021

3 tips for sewing doll knits


I love sewing with knits. The garments always turn out like miniatures of people clothes rather than just doll clothes. Probably because they usually mimic the same styles as people clothes like t-shirts, sweaters and cardigans.

There is no need to worry about getting your knits to behave while you are sewing. I can count on one hand the number of times the needle plate has eaten the knit and I have have made a lot of knit doll clothes.

I don't even change the needle to a stretch needle unless I am sewing lycra that stretches in all directions. 

There are some simple ways to get your knits to behave. 

  • I sew with a a very narrow zigzag that fits in the needle hole of my 1/4" foot. This is just enough to stop the knit wrinkling a lot or getting stuck in the needle plate.
  • Press the hems and band seams as you go to make any waves flatten out.
  • Folded bands can be controlled by pinning the raw edges together every inch or so. You then gently stretch it as you fit it to the front and pin it in place with the pins already in it.
Here is a video of how I do my neck bands for all my knits. You just have to make sure the length of the band fits the garment edge when being firmly stretch.


It is also important to choose your knits carefully. If you are using people t-shirts you will find that not all t-shirts are made from t-shirt double-knit. You can read more about choosing knits here.

You can find this t-shirt pattern in my Etsy Shop


Happy Doll Dressmaking,
Val

Friday, July 23, 2021

Classic garments are a must for any doll clothes collection - 18" doll cardigan ideas to get that cute knit look

Now don't block me out when I mention sewing knits!

T-shirt knit is easy to use and it can also be used to make the bands so you don't have to worry about ribbing.

I have added a module to the 1801 Classic knits collection.

This Classic Cardigan is such a fabulous addition to any doll clothes collection.

You can make it from t-shirt knit but I like to use pieces from people cardigans to get a beautiful rib affect on the sleeves and of course the knit from a people cardigan gives the doll cardigan a more miniature cardigan feel rather than just being doll clothes.

Here are a few examples done in different knits.
This first one is made from an old cardigan of mine

18” doll cardigan pattern fits AGD by valspierssews

The sleeve bands are strips I cut from the bottom band so I could use the hem edge and sewed it in place for the ribbing on the sleeves and around the bottom edge and the neck of my doll cardigan.


This next one I made from regular ribbing. The body, the sleeve bands and the front band are all made from the same ribbing. The bottom edge is hemmed.


This one was made from the largest size of a child's cardigan.


The neck band is made from lengthwise strip of the knit sewn to the inside then folded around the seam allowance and stitch1/4" from the fold. I then carefully trimmed close to the stitching to give a neat band.

The back, front and sleeves fit on one sleeve of the child's cardigan. I used the ribbing on the sleeve as the end of my sleeves.


This one I made from a striped T-shirt if mine. I used navy ribbing folded in half and stitched
right sides together. Then I folded the seam allowance to the inside and top stitched on the outside. It has hemmed sleeves.


The cardigan is one of those perfect pieces for any season. I like to use it as my jacket option when creating seasonal doll clothes capsules.
If you have several dolls with different colouring I suggest 2 cardigans in light colours and you can pair them with other light colours for the blonde pale dolls and with stronger contrasting colours for the dolls with darker hair.


You can read more about making
doll clothes capsules in this blog post.

I like to offer those on my mailing list some pattern discounts and free patterns.
Last month I added the free tank top to the Newsletter pattern folder. With the tank top and the Classic Cardigan you are well on the way to building a Summer doll clothes capsule. The one above is comprised of the free infinity scarf, the free chiffon skirt and the free tank top.

You can get the cardigan from my Etsy shop as 1801 Module 3 Cardigan

Join my mailing list for the monthly newsletter and immediate access to the Free Newsletter Pattern Folder on Dropbox.

Happy Doll Dressmaking,
Val