I have been doing quite a lot with knits lately.
- Not all knits work with all knit patterns
- Use a stretchiness guide
- An easy to sew neck band
- Finishing the seams
- The Published Pattern
Not all knits work with all knit patterns
There are so many different variations of knit fabrics.
It's difficult to make a design that will suit a range of knits. If you don't have the right knit the pattern doesn't work the way it's supposed to.
I stumbled across this cute sweater with a stuck on bow that I just had to try to replicate for the doll.
It's from Shein. I found it on Pinterest.
I have a lot of fun trying to make a design suitable for an 18" doll to wear. I think the one I designed for my doll looks better than the people one.
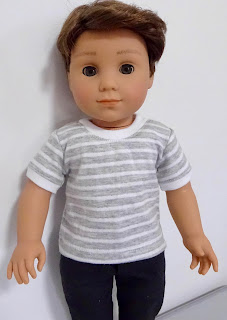
I had several knit fabrics and I wanted to try them all with this design. The white one is t-shirt knit. A nice medium weight, not too flimsy.
The pink velour one is not very stretchy so I had to adjust the cuffs and the waist band to make the strip a bit longer. After making one I decided the waist band needed to be wider to look more in proportion with the thicker knit.
I also realised that I would have to make the cuff strip the same width as the wrist edge of the sleeve so it would go over the hand.
I tried a lycra one but it was just too thin and didn't look any good with the bow.
Use a stretchiness guide
Eventually I decided I needed a knit stretchiness guide so you would be able to choose the right pattern pieces for your knit. I wanted the pattern to work with more types of knits than t-shirt knit because the pretty knits I had were all over the place. You can just use a ruler but including the guide means you don't need to search for a ruler.
An easy to sew neck band
I called this design easy because the neckband fits perfectly and doesn't cause any trouble when you stretch it out to sew on.
The method I use is perfect for those times when you don't want to use ribbing or you just don't have matching ribbing. It works for all stretchiness types of knits as long as they are not ribbing.
I had a bit of trouble folding the neckband over the seam allowance with this knit. In hind sight I should have trimmed off a bit of the seam allowance across the centre front where the front panel sits.
I had to go over a bit of edge where my stitching missed. When you top stitch from the right side you can't see exactly what is going on behind.
I also decided not to trim any of the neck band after top stitching because this knit seems to unravel a bit when cut on the straight edge. I don't think it will make the garment any less hardy but it does look a bit messy on the band seams.
Finishing the seams
In the past when I sewed knits I would open the seam at the wrist and stitch it flat. I am over that now. I don't think it really makes any difference to the look on the doll. I guess it looks a bit clunky on the inside of the sleeve but I don't worry too much about staring at the insides of my garments. If you make knit tops to sell your customer would have to be pretty finicky to complain about neatness or not on the inside. As long as it is finished as best as you can.
I have even stopped overlocking my seems because it add bulk and stiffness to a garment that spoils the look.
The narrow zig zag!
The other thing I always do when I sew knits is to use a very narrow zig zag stitch for all the seams and top stitching.
My 1/4" foot has a hole in it for the needle to go through and when I set my zig zag to 1mm I find that the needle still goes through the hole so I don't have to change feet.
I have also found that using the zig zag means I don't have to change to a special knits needle. I always use my regular needle for knits. The only time I might have trouble is with the very stretch lycra style knits. The ones that stretch in every direction.
The narrow zig zag allows the garment to stretch without breaking the threads.
I don't think it would allow enough stretch for the really stretchy fabrics. Dolls don't tend to put a lot of stress on their clothes though so it may be OK.
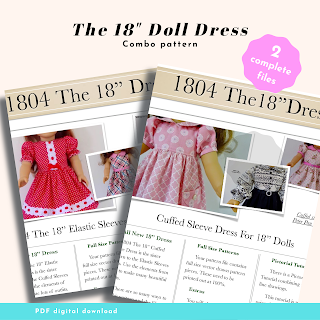
The Published Pattern
The Faux Bow Sweater is good for both Our Generation dolls and American Girl dolls.
I published this one in February 2023.
VIP ladies will find it in the VIP Dropbox folder.
Don't forget you can get 20% off with the code SAVE2020 if you put $20 or more Australian dollars in your cart. The $20 total is before tax.
Happ Doll Dressmaking,
Val